10 Essential Sewing Tips Every Sewist Should Know
Boost your sewing skills with these 10 practical tips covering tools, needles, cutting, and machine care for better results every time.
10 Essential Sewing Tips Every Sewist Should Know
Whether you're just picking up a needle for the first time or you've been sewing for years, there's always room to sharpen your technique. These 10 practical tips will help you cut cleaner, stitch smoother, and finish projects you're truly proud of.
---
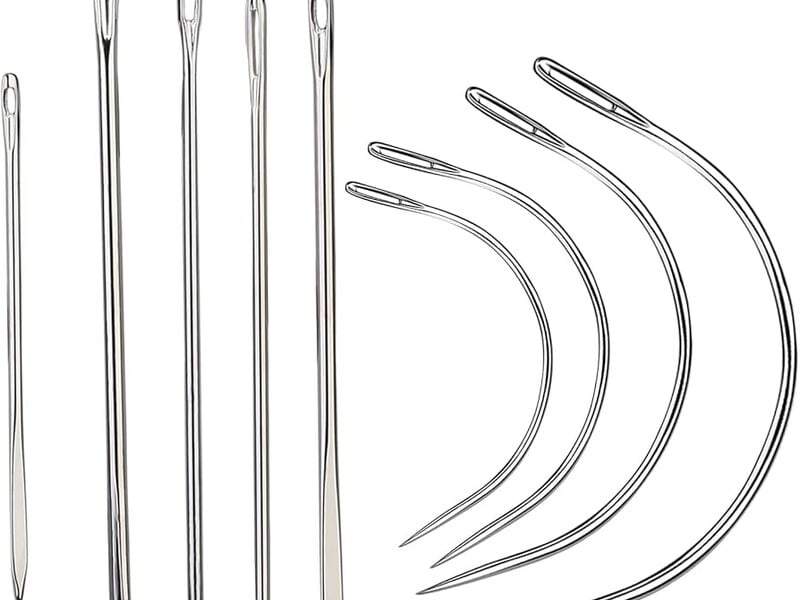
1. Always Use the Right Needle for the Job
One of the most overlooked sewing fundamentals is needle selection. Using the wrong needle causes skipped stitches, fabric damage, and thread breakage.
**Pro tip:** Change your needle every 8–10 hours of sewing time, or whenever you start a new project. A dull needle is the #1 cause of uneven stitches.
---
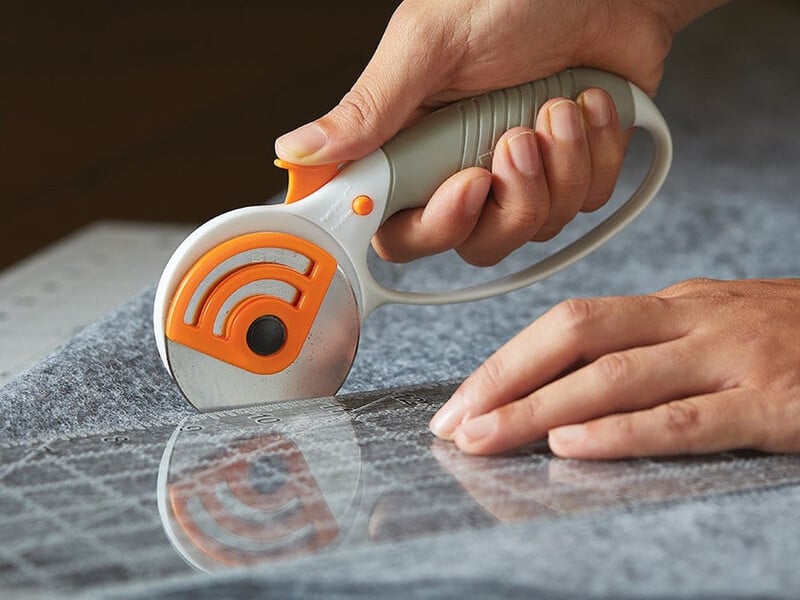
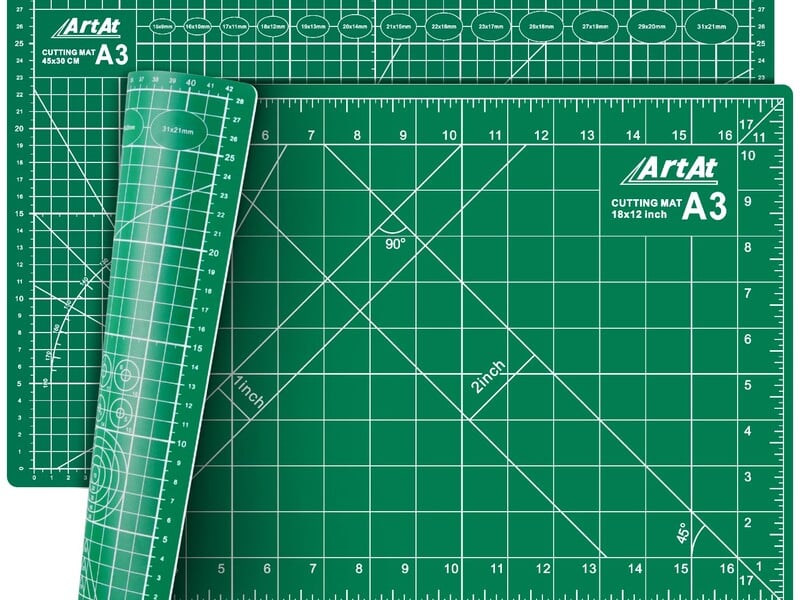
2. Protect Your Work Surface with a Self-Healing Cutting Mat
Cutting directly on a table ruins both your fabric and your furniture. An Olfa Self-Healing Cutting Mat ($15–$45, rated 4.6/5) is an indispensable tool for any sewing space. The surface "heals" after each cut, keeping your mat smooth and your rotary cutter sharp for longer.
---
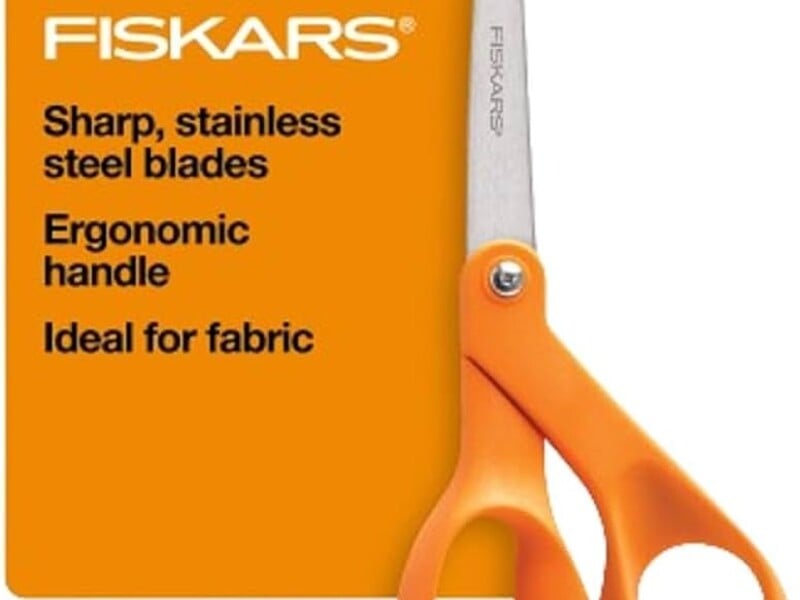
3. Invest in Quality Cutting Tools
Dull scissors and blades are the enemy of clean seams. Two tools every sewist needs:
Fiskars Fabric Scissors 8" ($15–$30, rated 4.8/5, durability score: 90/100) — These are the gold standard for fabric shears. The precision-ground blades stay sharp through hundreds of projects. Available at [Amazon](https://www.amazon.com/dp/B00006IFN9?tag=smarterfabric-20) or [JOANN](https://www.joann.com/search?q=fabric+scissors).
Olfa Rotary Cutter 45mm ($12–$25, rated 4.7/5, durability score: 85/100) — For cutting multiple layers of fabric or long straight lines, a rotary cutter paired with your self-healing mat is faster and more accurate than scissors. Available at [Amazon](https://www.amazon.com/dp/B000BNLLHW?tag=smarterfabric-20).
**Important:** Never use your fabric scissors on paper — it dulls the blades instantly. Keep a dedicated pair of paper scissors nearby.
---
4. Press as You Sew, Not Just at the End
Pressing seams open or to one side as you go makes a dramatic difference in the final look of your project. Use a dry iron on the appropriate heat setting for your fabric, and press each seam before crossing it with another.
---
5. Pin Perpendicular to the Seam Line
Place pins at a 90-degree angle to your seam line rather than parallel to it. This lets you sew right over them (slowly!) without stopping to remove each one, and it keeps fabric layers from shifting.
---
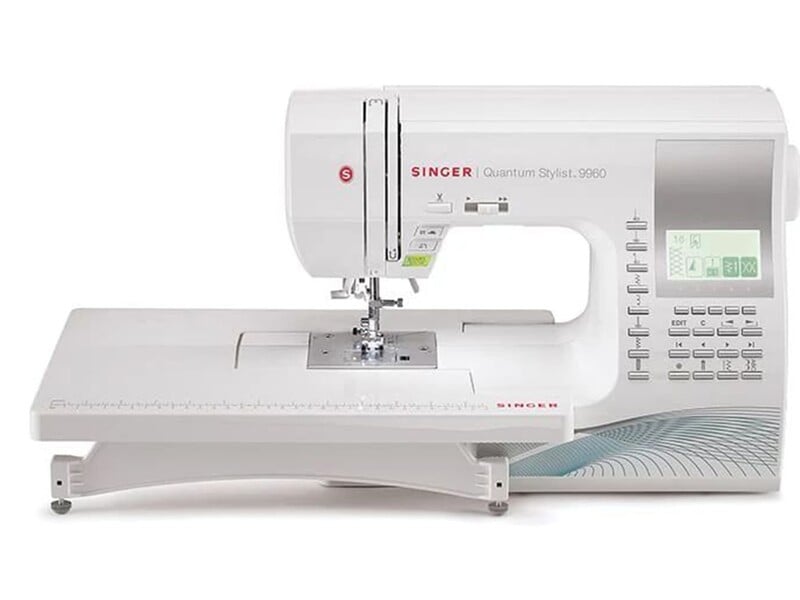
6. Use the Right Machine for Your Skill Level
If you're an intermediate sewist tackling a variety of projects, the Singer Quantum Stylist 9960 ($350–$450, rated 4.4/5) is a powerhouse choice. With 600 built-in stitches, an automatic needle threader, and a speed control slider, it handles everything from delicate chiffon to heavier home décor fabrics. Available at [Amazon](https://www.amazon.com/dp/B004RDH7Y8?tag=smarterfabric-20) or directly from [Singer](https://www.singer.com/quantum-stylist-9960-sewing-machine).
---
7. Staystitching Prevents Stretching
Before sewing curved edges like necklines or armholes, run a single line of staystitching just inside the seam allowance. This stabilizes the bias grain and prevents the edge from stretching out of shape as you handle the fabric.
---
8. Clip and Notch Your Curves
Both techniques help curved seams lie flat and smooth after turning.
---
9. Keep a Seam Ripper Handy — and Use It Without Shame
Every sewist, from beginner to professional, uses a seam ripper regularly. Catching a mistake early and correcting it is far better than finishing a project with a crooked seam. Keep one clipped to your machine or pinned to your pincushion.
---
10. Label and Store Your Fabric Stash Properly
Fold fabric neatly and store it away from direct sunlight to prevent fading. Attach a small label noting the fiber content, width, and yardage — you'll thank yourself later when you're planning a new project and can't remember what that mystery fabric is.
---
Final Thoughts
Great sewing comes down to good habits: the right tools, the right needle, and a little patience. Start with quality essentials like the Fiskars scissors, an Olfa cutting mat and rotary cutter, and the appropriate Schmetz needles for your project, and you'll notice the difference immediately. Happy sewing!
Products Mentioned in This Post
Singer Quantum Stylist 9960
Feature-packed computerized machine with 600 built-in stitches.
$350 - $450
Leather Needles
Cutting point needles designed for leather and vinyl.
$6 - $12

Embroidery Needles
Large eye needles for decorative threads and embroidery.
$5 - $10
Rotary Cutter 45mm
Essential rotary cutter for precise fabric cutting.
$12 - $25
Fiskars Fabric Scissors 8"
Premium dressmaking shears with micro-tip precision.
$15 - $30
Self-Healing Cutting Mat
Essential cutting surface for rotary cutting.
$15 - $45
Want deeper dives?
Check out our expert-written guides for comprehensive fabric and sewing knowledge.
Found this helpful? Share it with your sewing community!