Sew a Luxurious Velvet Embroidered Cushion Cover
Transform your living space with this step-by-step tutorial for sewing a stunning velvet cushion cover with embroidered accents — perfect for intermediate sewists.
Sew a Luxurious Velvet Embroidered Cushion Cover
There's something undeniably glamorous about velvet. Its rich texture and light-catching pile instantly elevate any room — and when you add hand-guided machine embroidery, the result is a cushion cover that looks like it belongs in a boutique hotel. The best part? You can make one yourself in an afternoon.
This project is rated intermediate — you'll need basic sewing skills and ideally some experience with decorative stitching. But don't be intimidated: with the right tools and materials, this is a deeply satisfying make.
What You'll Need
**Pro tip:** Always buy 10–15% more velvet than you think you need. The pile direction matters, and you may need to re-cut pieces to ensure they all run the same way.
Step 1: Prepare Your Velvet
Velvet is a beautiful but notoriously tricky fabric. Before cutting, lay it out on a flat surface and identify the pile direction — run your hand along the fabric and notice which way feels smooth (pile down) versus slightly raised (pile up). For the richest color depth, cut all pieces with the pile running upward.
Cut the following pieces:
Use your Dritz Dressmaker Pins to secure the fabric to your cutting surface before marking. These fine-point pins glide through velvet without leaving visible holes — a must for this project. Available at [Amazon](https://www.amazon.com/dp/B000BNLLHW?tag=smarterfabric-20).
Step 2: Mark and Embroider the Front Panel
This is where the magic happens. Using tailor's chalk, lightly sketch your embroidery design on the wrong side of the front panel — or use a water-soluble marker on the right side if your design is simple (like a central floral motif or geometric border).
Thread your machine with Sulky Rayon Embroidery Thread. This thread's high sheen is perfect for velvet — it catches the light beautifully and creates a luxurious contrast against the pile. With a rating of 4.7/5, it's one of the most reliable embroidery threads on the market. Pick yours up at [Amazon](https://cdn11.bigcommerce.com/s-8ydwjl7b41/images/stencil/800x800/products/22528/12351/712-1808_800x800__63922.1726773704.jpg?c=2 settings for velvet embroidery:**
The Brother CS7000X ($200–$280) includes 70 built-in decorative stitches and a wide table extension — ideal for maneuvering a large velvet panel. Available at [Amazon](https://www.amazon.com/dp/B08BH5GTNC?tag=smarterfabric-20) or [Brother Direct](https://www.brother-usa.com/products/cs7000x). If you want true built-in embroidery with hoop support, the Baby Lock Jubilant ($350–$450) is worth the investment — it's beginner-friendly despite its advanced features. Find it at [Amazon](https://www.amazon.com/s?k=baby+lock+jubilant+sewing+machine?tag=smarterfabric-20).
Embroider your design, then press gently from the wrong side using a velvet board or thick towel to avoid crushing the pile.
Step 3: Assemble the Envelope Back
The envelope closure is the easiest way to finish a cushion cover — no zippers required.
1. On each back panel, fold one long edge over by 1", press, then fold again by 1" and stitch down to create a clean hem.
2. Lay the front panel right side up on your work surface.
3. Place one back panel right side down, aligning raw edges on three sides.
4. Place the second back panel right side down on the opposite side, overlapping the first panel in the center.
5. Pin all layers together with your Dritz Dressmaker Pins.
Step 4: Stitch and Finish
Sew around all four sides with a ½" seam allowance. Clip the corners diagonally to reduce bulk, then turn the cover right side out through the envelope opening.
Use a blunt tool (like a chopstick) to gently push out the corners. Give the seams a final press from the wrong side.
Step 5: Insert and Style
Slip your 18" cushion insert through the envelope opening. The cover should be slightly snug — this gives the cushion a full, plump appearance.
Velvet Fabric is available in a stunning range of colors from $15–$40/yard. Shop at [Mood Fabrics](https://www.awin1.com/cread.php?awinmid=53817&awinaffid=2801410&ued=https%3A%2F%2Fwww.moodfabrics.com%2Fsearch%3Fq%3Dvelvet) for an exceptional selection, or browse [Amazon](https://www.amazon.com/dp/B07D5JN72M?tag=smarterfabric-20) for convenient delivery.
Final Thoughts
This velvet embroidered cushion cover is a project that rewards patience. The combination of Velvet Fabric's luxurious drape (rated 4.5/5), the luminous sheen of Sulky Rayon Embroidery Thread (rated 4.7/5), and the precision of a capable machine like the Brother CS7000X or Baby Lock Jubilant makes for a finished piece you'll be genuinely proud of.
Estimated total cost: $30–$70 depending on fabric yardage and thread colors chosen.
Time to complete: 2–3 hours for intermediate sewists.
Happy sewing — and enjoy your gorgeous new cushion!
Products Mentioned in This Post
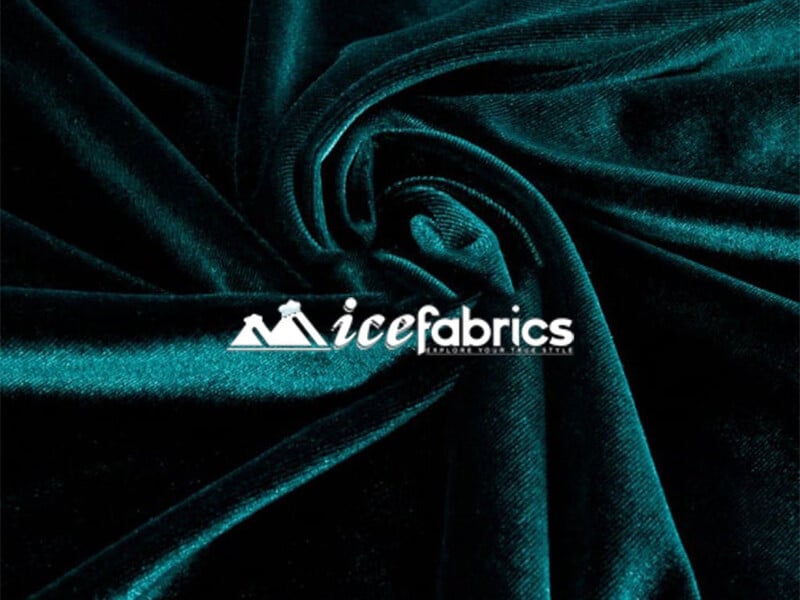
Velvet Fabric
Luxurious crushed velvet with rich color depth and soft hand feel.
$15 - $40
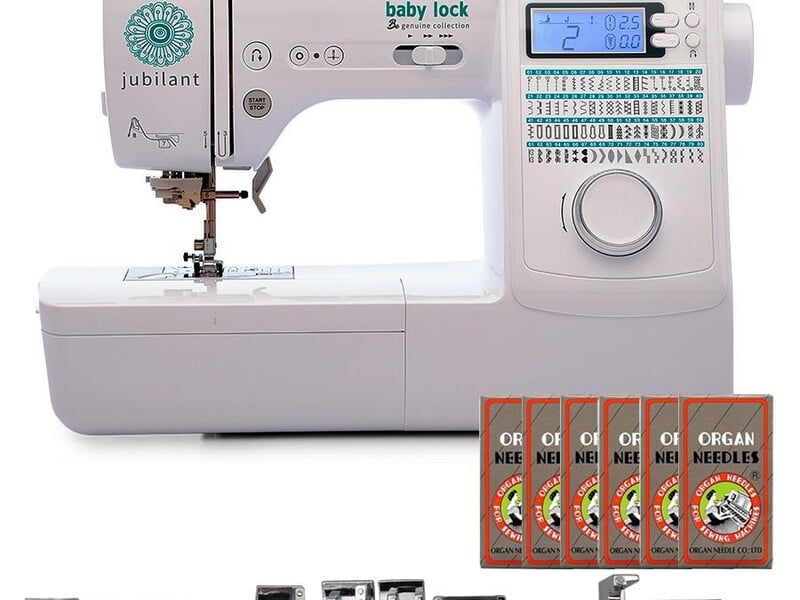
Baby Lock Jubilant
Entry-level machine with advanced features and easy threading.
$350 - $450
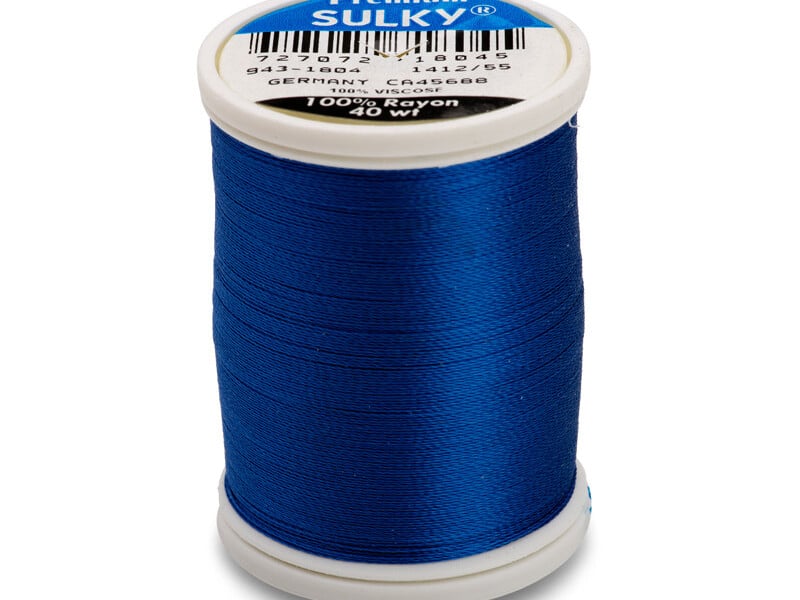
Sulky Rayon Embroidery Thread
High-sheen rayon thread perfect for machine embroidery.
$5 - $10
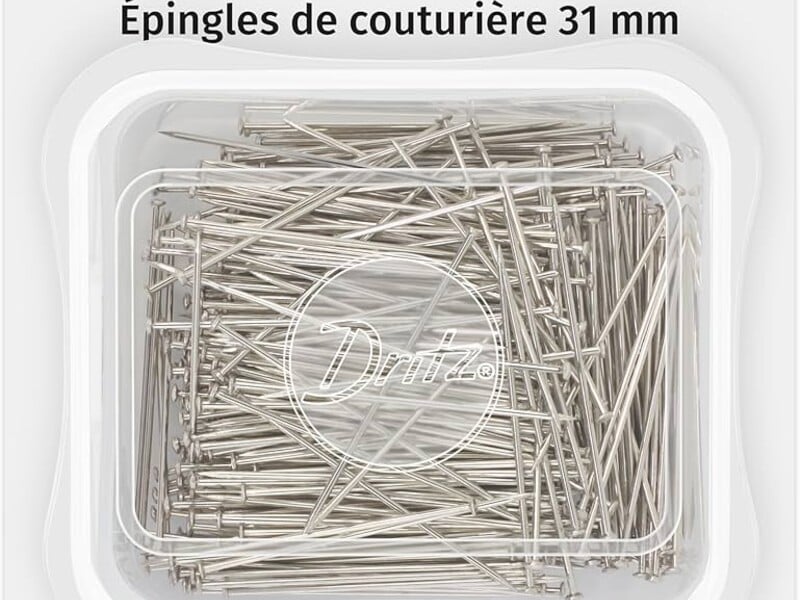
Dritz Dressmaker Pins
Fine steel pins with sharp points for delicate fabrics.
$4 - $10
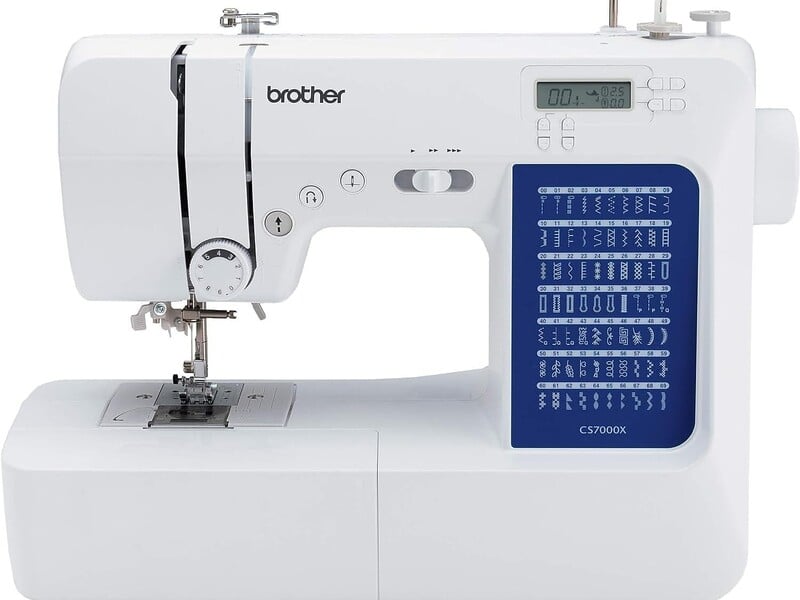
Brother CS7000X
Feature-rich computerized sewing machine ideal for beginners and intermediate sewers.
$200 - $280
Want deeper dives?
Check out our expert-written guides for comprehensive fabric and sewing knowledge.
Found this helpful? Share it with your sewing community!