Sew a Velvet Tote Bag: Step-by-Step Project Tutorial
Learn how to sew a luxurious velvet tote bag from scratch using the right tools, needles, and thread for a polished finish.
Sew a Velvet Tote Bag: Step-by-Step Project Tutorial
There's something undeniably luxurious about velvet. Its rich texture and deep sheen make it a showstopper fabric — and a velvet tote bag is the perfect weekend sewing project to show off your skills. In this tutorial, we'll walk you through every step, from cutting to finishing, using the right tools to get professional results.
**Skill Level:** Intermediate to Advanced | **Estimated Time:** 3–4 hours | **Finished Size:** 14" wide × 15" tall × 4" deep
---
What You'll Need
Before you start, gather your supplies. Using quality tools makes a real difference when working with a tricky fabric like velvet.
---
Choosing the Right Sewing Machine
Velvet is thick, slippery, and can be unforgiving. The Singer Heavy Duty 4423 ($180–$250) is an excellent choice for this project. With a 4.5/5 quality rating and a durability score of 92, it's built to power through multiple layers of velvet and interfacing without skipping stitches. It's beginner-friendly but capable enough for advanced projects. Available at [Amazon](https://www.amazon.com/dp/B003VWXZQ0?tag=smarterfabric-20) or directly from [Singer](https://www.singer.com/heavy-duty-4423-sewing-machine).
---
Selecting the Right Needles
Using the wrong needle on velvet can cause snags, skipped stitches, or pulled pile. Here are your two best options:
**Pro Tip:** Start with a size 90/14 needle and test on a scrap piece first. Change your needle after every project — a dull needle is the #1 cause of velvet snags.
---
Cutting Your Fabric
Accurate cutting is critical with velvet. Use a Rotary Cutter 45mm ($12–$25, rated 4.7/5) for clean, precise cuts without disturbing the pile. Always cut velvet in a single layer with the pile running in the same direction on all pieces. Available at [Amazon](https://www.amazon.com/dp/B000BNLLHW?tag=smarterfabric-20).
Cut the following pieces:
---
Sewing the Bag
1. Fuse the Interfacing
Apply fusible interfacing to the wrong side of all velvet pieces. Use a pressing cloth and low heat — never press directly on velvet or you'll crush the pile permanently.
2. Assemble the Outer Bag
3. Topstitch with Embroidery Thread
For a decorative touch, use Sulky Rayon Embroidery Thread ($5–$10, rated 4.7/5) for topstitching along the top edge and handle attachment points. Its silky sheen complements velvet beautifully and adds a couture finish. Available at [Amazon](https://www.amazon.com/dp/B002PNXLQ0?tag=smarterfabric-20).
4. Assemble the Lining
Repeat the same steps with your lining fabric, leaving a 5" gap at the bottom for turning.
5. Attach the Handles
Pin your handles to the top edge of the outer bag, centered and 4" apart. Stitch a rectangle with an X through it for maximum strength — velvet totes can carry heavy loads!
6. Join Outer and Lining
Place the outer bag inside the lining, right sides together. Stitch around the top edge. Turn right side out through the gap in the lining, then slip-stitch the gap closed.
7. Final Press and Topstitch
Tuck the lining inside, press the top edge gently with a pressing cloth, and topstitch ¼" from the edge to keep the lining in place.
---
Finishing Tips
---
Final Thoughts
A velvet tote bag is a rewarding project that looks far more complex than it is. With the right machine, needles, and a sharp rotary cutter, you'll have a stunning bag ready in an afternoon. The key is patience — take your time with cutting and pressing, and the results will speak for themselves.
Happy sewing! 🧵
Products Mentioned in This Post

Velvet Fabric
Luxurious crushed velvet with rich color depth and soft hand feel.
$15 - $40
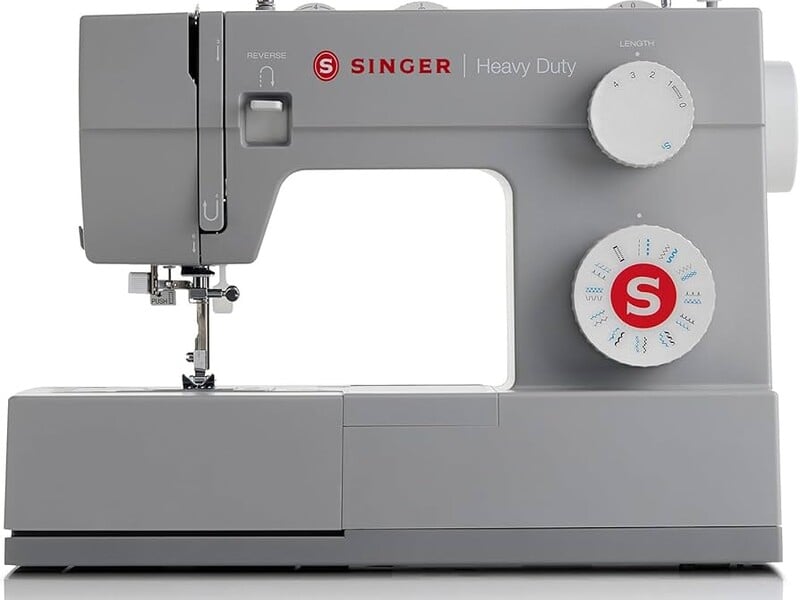
Singer Heavy Duty 4423
Powerful heavy-duty machine built to handle thick fabrics with ease.
$180 - $250

Denim/Jeans Needles
Heavy-duty needles with reinforced blade for thick fabrics.
$5 - $10
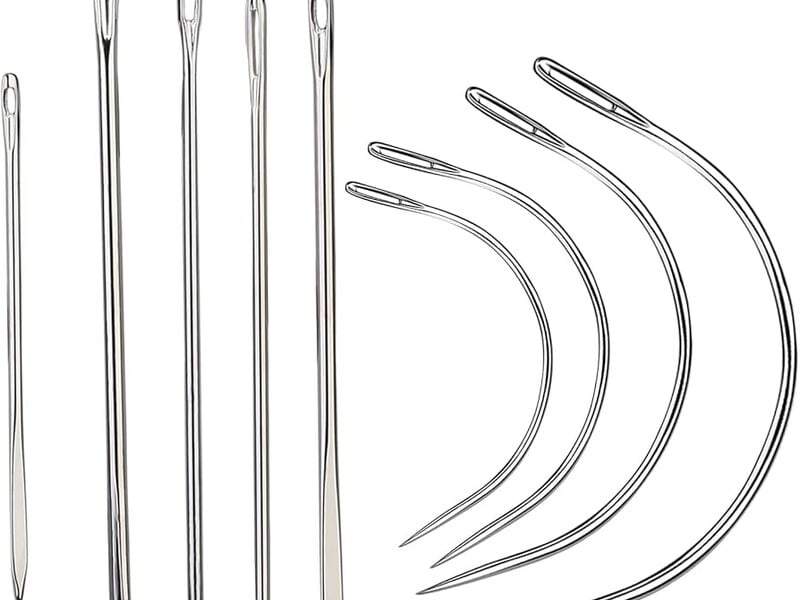
Leather Needles
Cutting point needles designed for leather and vinyl.
$6 - $12
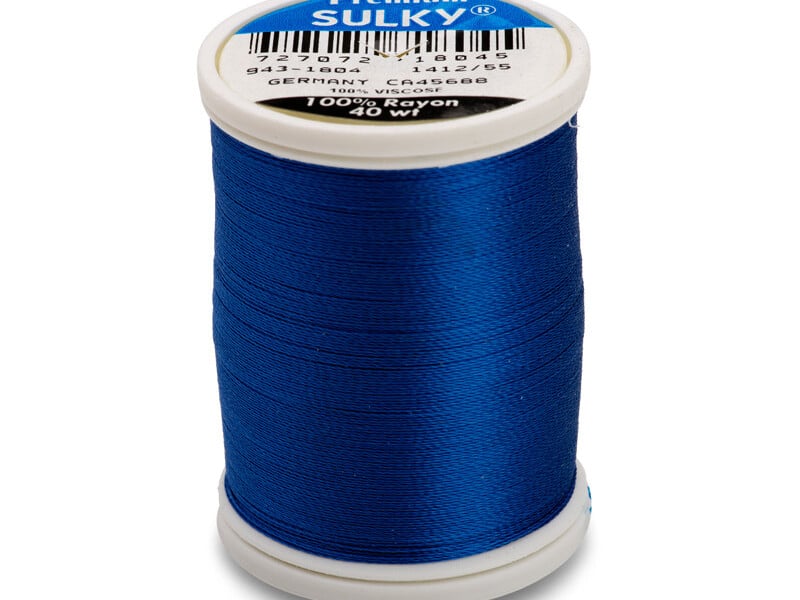
Sulky Rayon Embroidery Thread
High-sheen rayon thread perfect for machine embroidery.
$5 - $10
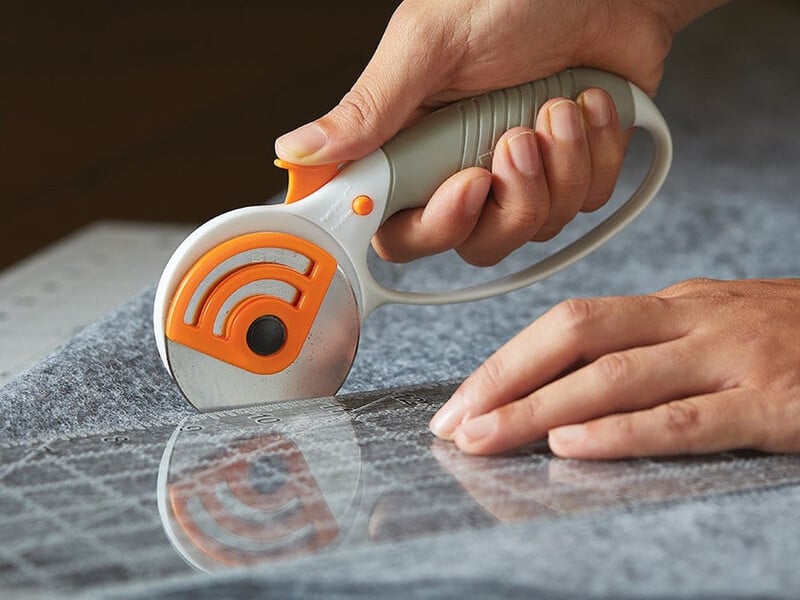
Rotary Cutter 45mm
Essential rotary cutter for precise fabric cutting.
$12 - $25
Want deeper dives?
Check out our expert-written guides for comprehensive fabric and sewing knowledge.
Found this helpful? Share it with your sewing community!