10 Pro Tips for Choosing the Right Needle, Thread & Machine Settings
Master your sewing projects with expert tips on matching needles, thread, and machine settings to any fabric.
Why the Right Needle, Thread & Machine Settings Matter
Every sewist has been there: you sit down at your machine, excited to start a new project, and within minutes you're dealing with skipped stitches, thread breakage, or puckered seams. Nine times out of ten, the culprit isn't your technique — it's a mismatch between your needle, thread, and machine settings.
Getting these three elements in sync is the single biggest upgrade you can make to your sewing. Here are 10 pro tips to help you nail it every time.
---
Tip 1: Match Your Needle to Your Fabric — Always
The golden rule of sewing: never use a universal needle for everything. Different fabrics require different needle types.
**Pro tip:** Change your needle every 8–10 hours of sewing time, or after every major project. A dull needle is responsible for more sewing problems than most people realize.
---
Tip 2: Choose Thread Weight to Match Your Fabric Weight
Thread weight is measured in "wt" — the higher the number, the finer the thread. Aurifil 50wt Cotton Thread ($12–$18) is a versatile workhorse that works beautifully on quilting cotton, linen, and medium-weight wovens. Its fine weight means it sinks into the fabric rather than sitting on top, creating nearly invisible seams. Available at [Amazon](https://www.amazon.com/dp/B004Y0ZD9K?tag=smarterfabric-20).
---
Tip 3: Always Test on a Scrap First
Before sewing a single stitch on your actual project, sew a 4-inch test seam on a scrap of the same fabric. Check:
This 60-second habit saves hours of unpicking.
---
Tip 4: Adjust Stitch Length for the Fabric
Stitch length is not one-size-fits-all:
When sewing Fleece Fabric ($8–$16), use a longer stitch (3–3.5mm) and a walking foot if available — fleece has a tendency to stretch and shift. Available at [Amazon](https://www.amazon.com/dp/B01N3NFRS5?tag=smarterfabric-20) or [JOANN](https://www.joann.com/search?q=fleece+fabric).
---
Tip 5: Dial In Your Tension Settings
Tension problems are the most common sewing complaint. Here's how to diagnose them:
Most machines default to a tension of 4–5, which works for medium-weight fabrics. Always re-test when switching fabric types.
---
Tip 6: Use the Right Presser Foot
Your presser foot is as important as your needle:
---
Tip 7: Invest in a Machine That Grows With You
Your machine's capabilities set the ceiling for what you can achieve. The Husqvarna Viking Emerald 116 ($250–$350) is an excellent mid-range machine with 97 built-in stitches, automatic needle threading, and a top-drop bobbin system that makes tension adjustments intuitive. It's a great choice for sewists moving beyond beginner projects. Available at [Amazon](https://www.amazon.com/dp/B0053G3KM6?tag=smarterfabric-20).
For serious sewists who want professional-grade results, the Juki HZL-F600 ($900–$1,100) offers exceptional stitch consistency, a wide range of decorative stitches, and industrial-quality feed dogs that handle everything from silk to denim with ease. Available at [Amazon](https://www.amazon.com/dp/B00JGCAHWE?tag=smarterfabric-20).
---
Tip 8: Keep Your Machine Clean and Oiled
Lint buildup in the bobbin area is one of the leading causes of tension problems and skipped stitches. After every 3–4 bobbins:
1. Remove the bobbin and bobbin case
2. Use a small brush to clear lint from the feed dogs and bobbin area
3. Apply a single drop of sewing machine oil to the hook race (check your manual)
A clean machine runs quieter, smoother, and lasts longer.
---
Tip 9: Pin or Clip Perpendicular to the Seam
When pinning fabric layers together, place pins perpendicular to the seam line (at 90°), not parallel. This lets you sew right up to each pin and remove it just before the needle reaches it — reducing the risk of hitting a pin and breaking your needle.
For slippery or delicate fabrics, use wonder clips instead of pins to avoid leaving holes.
---
Tip 10: Press as You Sew — Not Just at the End
Pressing seams as you go (not just ironing the finished garment) is what separates professional-looking results from homemade-looking ones. After each seam:
1. Press the seam flat to set the stitches
2. Press the seam open or to one side, depending on your pattern instructions
3. Use a pressing cloth on delicate fabrics to prevent shine
**Remember:** A good iron is your second-most-important sewing tool, right after your machine.
---
Putting It All Together
Great sewing comes down to preparation and attention to detail. By matching your Ballpoint Needles or Leather Needles to your fabric, pairing them with the right weight of Aurifil 50wt Cotton Thread, and dialing in your machine settings on a scrap before you start, you'll eliminate 90% of common sewing frustrations.
Whether you're working on a cozy Fleece Fabric blanket or a structured leather bag, these tips apply across every project and skill level. Happy sewing!
Products Mentioned in This Post
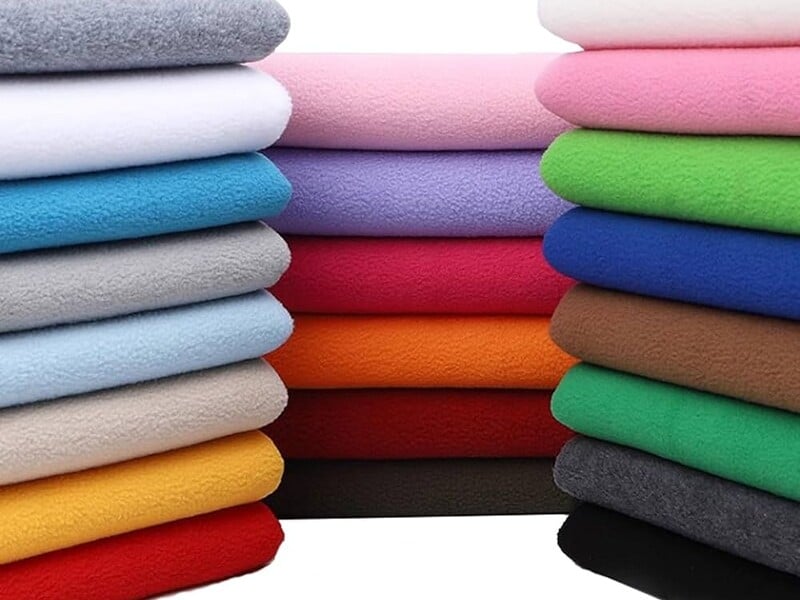
Fleece Fabric
Soft anti-pill fleece for cozy blankets, jackets, and accessories.
$8 - $16
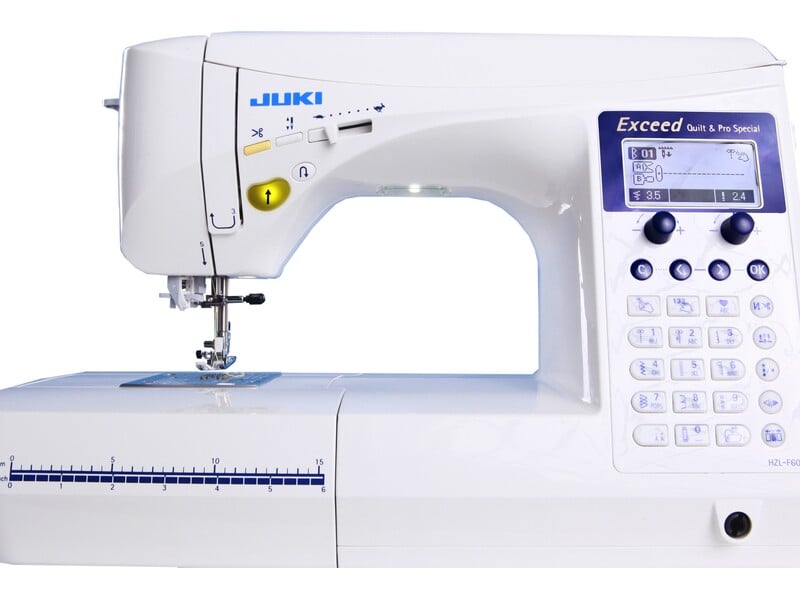
Juki HZL-F600
Industrial-quality computerized machine with box feed technology.
$900 - $1100
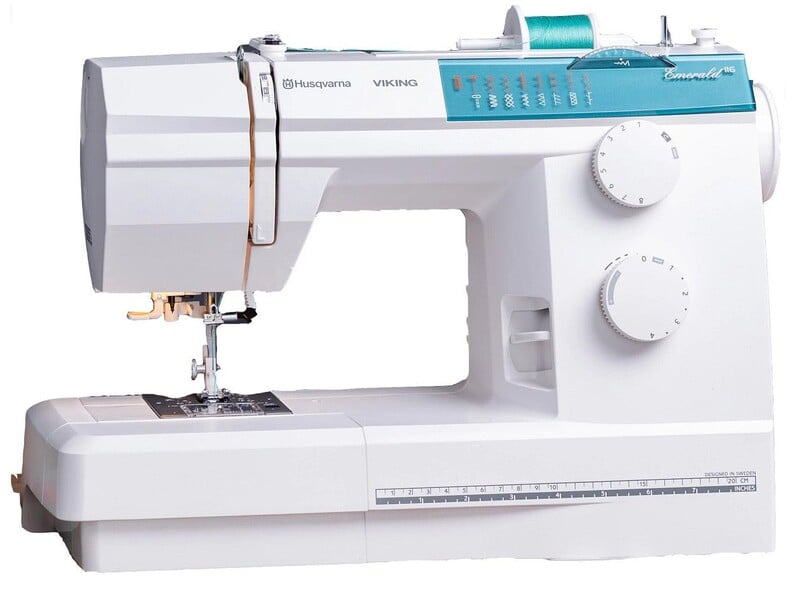
Husqvarna Viking Emerald 116
Reliable mechanical machine with Scandinavian design.
$250 - $350
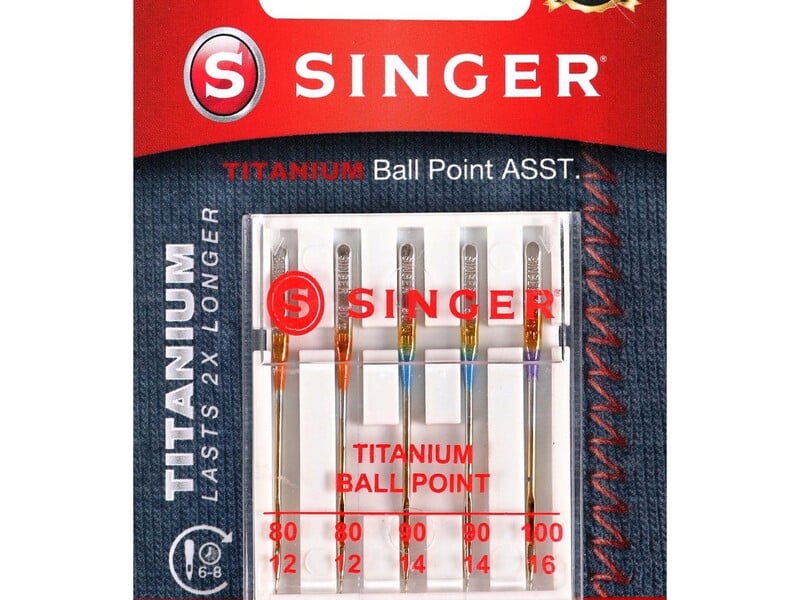
Ballpoint Needles
Rounded tip needles designed specifically for knit fabrics.
$4 - $8
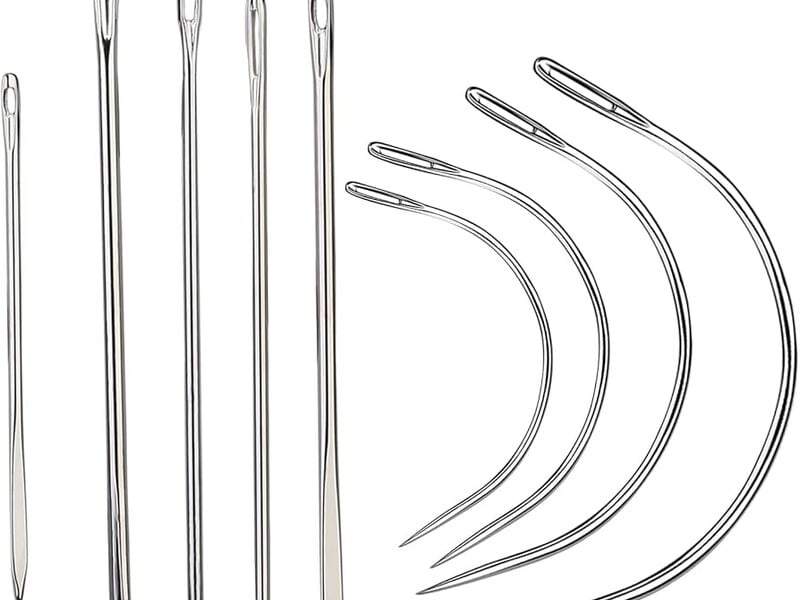
Leather Needles
Cutting point needles designed for leather and vinyl.
$6 - $12
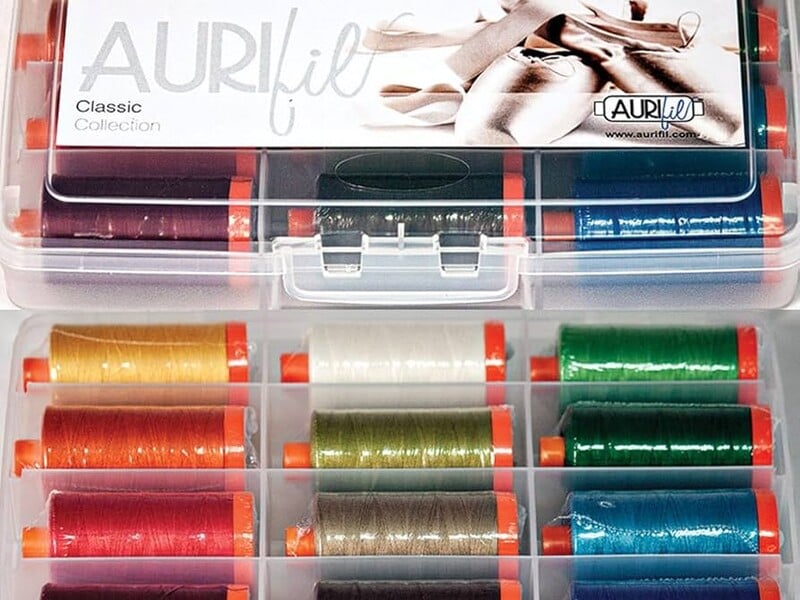
Aurifil 50wt Cotton Thread
Premium cotton thread favored by quilters worldwide.
$12 - $18
Want deeper dives?
Check out our expert-written guides for comprehensive fabric and sewing knowledge.
Found this helpful? Share it with your sewing community!