Sew a Cozy Fleece Hoodie: Step-by-Step Project Tutorial
Learn how to sew a warm, stylish fleece hoodie from scratch with this beginner-friendly step-by-step tutorial.
Sew a Cozy Fleece Hoodie: Step-by-Step Project Tutorial
There's nothing quite like wrapping yourself in a hoodie you made with your own hands. Fleece is one of the most forgiving fabrics for sewists of all skill levels — it doesn't fray, it's warm, and it comes in a rainbow of colors and prints. In this project tutorial, we'll walk you through sewing a classic pullover hoodie from start to finish.
What You'll Need
Before you cut a single piece of fabric, gather your supplies:
Step 1: Choose and Prepare Your Pattern
Print or trace your hoodie pattern pieces. Most hoodie patterns include:
**Pro tip:** Fleece has a nap — a direction in which the fibers lie. Always cut all pieces with the nap running in the same direction (usually downward) for a consistent look.
Since fleece doesn't fray, you can skip serging the raw edges, though a serger or zigzag stitch will give a cleaner finish.
Step 2: Cut Your Fabric
Lay your fleece flat on a large cutting surface. Use your Olfa Rotary Cutter 45mm and a ruler to cut along pattern lines with smooth, confident strokes. Fleece can shift, so pin pattern pieces generously — your Dritz Tomato Pincushion will get a workout here.
Pieces to cut:
Step 3: Sew the Body
1. Sew the shoulder seams — Place front and back panels right sides together. Stitch along the shoulder seam allowance (usually 5/8"). Press open or to one side.
2. Attach the sleeves — Match the sleeve cap notch to the shoulder seam. Pin generously and stitch. Clip curves if needed.
3. Sew the side seams and sleeve seams — Fold the hoodie so front and back are right sides together. Stitch from the cuff edge up through the underarm and down the side seam in one continuous line.
Use your Schmetz Denim/Jeans Needles for all seams — the reinforced blade handles multiple layers of fleece without skipping stitches. Thread your machine with Coats & Clark Dual Duty in a matching color.
Step 4: Construct the Hood
1. Place the two hood pieces right sides together and stitch along the curved center seam.
2. Fold the front edge of the hood over by 1" and stitch to create a channel for the drawstring.
3. Thread your drawstring cord through the channel and attach cord stops at each end.
**Beginner tip:** Sew slowly around the hood curve and use plenty of pins. Fleece is forgiving — small imperfections won't show once the hood is attached.
Step 5: Attach the Hood and Finish
1. Pin the hood to the neckline, right sides together, matching center back seam to center back of the body.
2. Stitch around the neckline. Trim any excess and clip curves.
3. Add the kangaroo pocket — Fold under the top edge of the pocket piece and topstitch. Pin to the front body and stitch around the sides and bottom.
4. Attach ribbing — Cut ribbing strips for cuffs and waistband. Fold in half lengthwise, stretch slightly to fit the opening, and stitch in place.
Finishing Touches
Why Fleece Is Perfect for This Project
Fleece's beginner-friendly properties make it ideal for a first garment project:
With the right tools — a sharp rotary cutter, quality thread, and the correct needle — you'll have a wearable, professional-looking hoodie in an afternoon. Happy sewing!
Products Mentioned in This Post
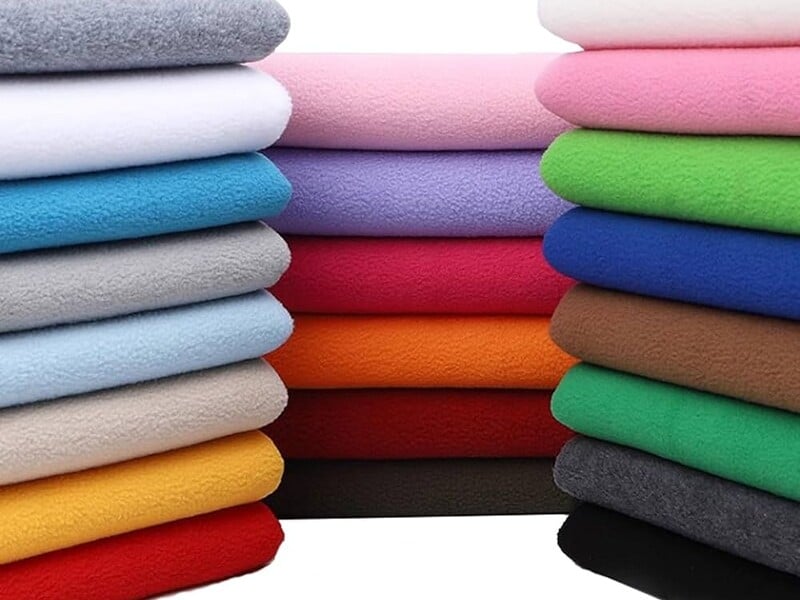
Fleece Fabric
Soft anti-pill fleece for cozy blankets, jackets, and accessories.
$8 - $16
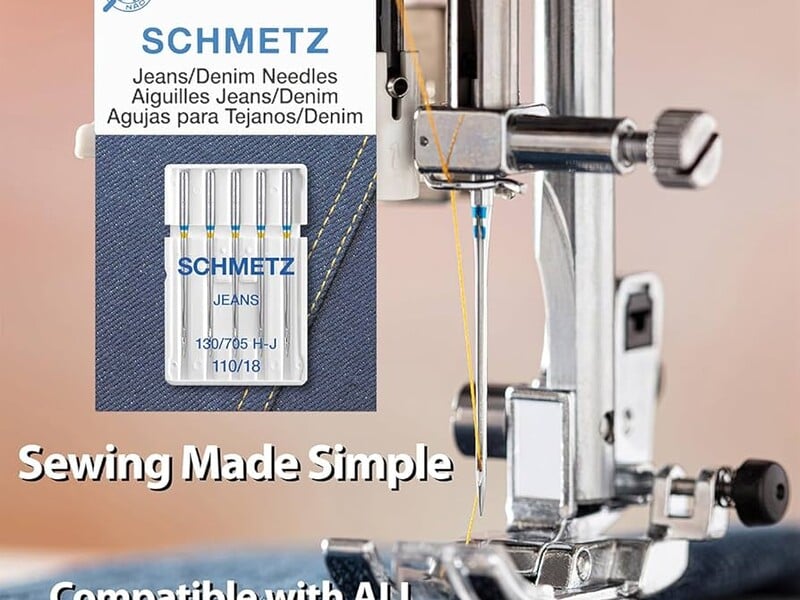
Denim/Jeans Needles
Heavy-duty needles with reinforced blade for thick fabrics.
$5 - $10
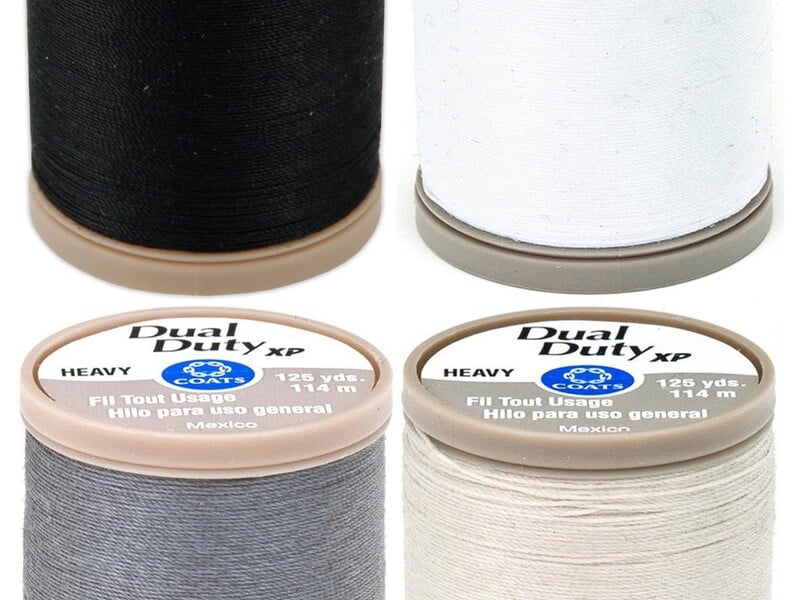
Coats & Clark Dual Duty
Reliable cotton-wrapped polyester thread for everyday sewing.
$2 - $5
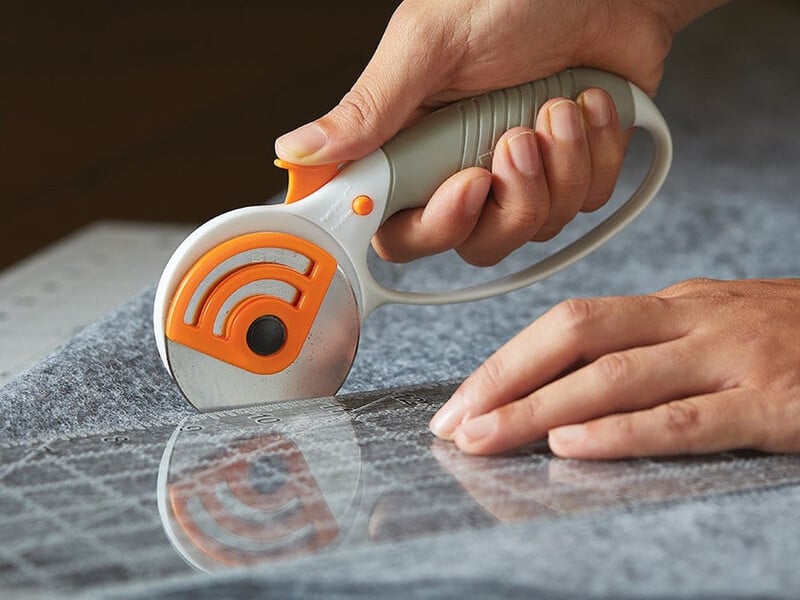
Rotary Cutter 45mm
Essential rotary cutter for precise fabric cutting.
$12 - $25
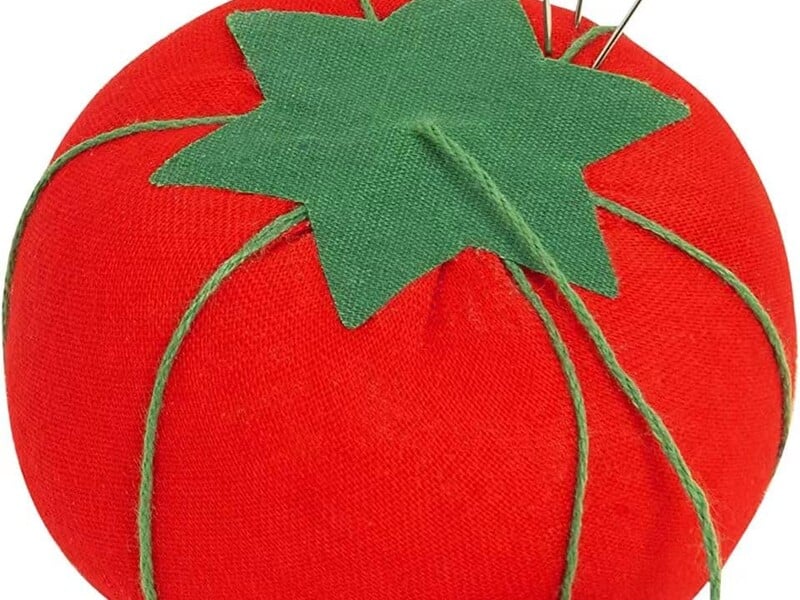
Tomato Pincushion
Classic tomato pincushion with attached strawberry emery.
$3 - $8
Want deeper dives?
Check out our expert-written guides for comprehensive fabric and sewing knowledge.
Found this helpful? Share it with your sewing community!