Sew a Cozy Jersey Knit T-Shirt: Beginner Project Guide
Learn to sew a comfortable jersey knit t-shirt from scratch with step-by-step instructions, tool tips, and product recommendations.
Sew a Cozy Jersey Knit T-Shirt: Beginner Project Guide
There's nothing quite like wearing a t-shirt you made yourself. Soft, perfectly fitted, and uniquely yours — a handmade jersey knit tee is one of the most satisfying beginner sewing projects you can tackle. In this guide, we'll walk you through every step, from choosing your fabric to finishing the neckline, using real tools and materials that make the process smooth and enjoyable.
---
What You'll Need
Before you cut a single piece of fabric, gather your supplies:
---
Step 1: Pre-Wash Your Fabric
**Pro tip:** Always pre-wash jersey knit before cutting. Knit fabrics can shrink significantly on the first wash, and pre-washing prevents your finished shirt from becoming too small after laundering.
Wash your Jersey Knit on a gentle cycle in cold water and tumble dry on low. Once dry, press lightly with a warm iron (use a pressing cloth to avoid scorching).
---
Step 2: Cut Your Pattern Pieces
Lay your pre-washed jersey knit on your Self-Healing Cutting Mat with the greatest stretch running horizontally (across the body). Pin your pattern pieces in place, making sure the grainline arrows align with the fabric's lengthwise grain.
Cut out:
Use sharp fabric scissors or a rotary cutter for clean edges. Jersey knit can curl at the edges — this is normal and won't affect your sewing.
---
Step 3: Set Up Your Sewing Machine
Jersey knit requires a stretch stitch to prevent seams from popping when the fabric is pulled. On the Singer Quantum Stylist 9960, select the built-in lightning bolt stretch stitch or a narrow zigzag (width 1.5, length 2.5). Install a ballpoint needle — this glides between the fabric's loops rather than piercing them, preventing snags and runs.
If you're using the Janome HD3000, its consistent tension control makes it especially reliable for knit seams. Set it to a stretch stitch and test on a fabric scrap first.
---
Step 4: Sew the Shoulder Seams
Place the front and back bodice pieces right sides together, aligning the shoulder edges. Sew across each shoulder seam using your stretch stitch. Press the seams open or to one side.
---
Step 5: Attach the Sleeves
**Tip:** Sew with the sleeve on top so you can control any ease as you go. Trim the seam allowance to ¼ inch and press toward the sleeve.
---
Step 6: Sew the Side and Sleeve Seams
Fold the shirt so the front and back are right sides together. Pin from the bottom hem up through the underarm and down to the sleeve hem in one continuous seam. Sew with a stretch stitch. This creates a clean, strong seam with no interruptions at the underarm.
---
Step 7: Attach the Neckband
Cut your neckband strip to approximately 90% of the neckline measurement — this slight shortening creates a snug, professional finish. Fold the strip in half lengthwise (wrong sides together) and press.
If you're using a contrast Cotton Quilting Fabric neckband, this is where your accent color pops beautifully against the jersey body.
---
Step 8: Hem the Sleeves and Bottom
Fold up the sleeve and bottom hems by ¾ inch and press. Topstitch with a twin needle or a wide zigzag stitch for a professional, store-bought look. The twin needle creates two parallel rows of stitching on the right side with a hidden zigzag on the wrong side — perfect for knit hems.
---
Finishing Touches
Try on your t-shirt and check the fit. If any seams need adjusting, reach for your Seam Ripper to carefully remove stitches without damaging the fabric. Re-sew as needed.
Give the finished shirt a final press with a warm iron and pressing cloth, and you're done!
---
Project Summary
| Item | Details |
|------|---------|
| Skill Level | Intermediate (Beginner-friendly with stretch stitch practice) |
| Time | 2–4 hours |
| Fabric Cost | ~$12–$36 (1.5–2 yards of Jersey Knit) |
| Key Tools | Singer 9960 or Janome HD3000, Cutting Mat, Seam Ripper |
Sewing your own jersey knit t-shirt is a rewarding project that builds essential skills — working with stretch fabrics, installing a neckband, and achieving professional hems. Once you've made one, you'll want to make a dozen more in every color!
Happy sewing! 🧵
Products Mentioned in This Post

Jersey Knit
Soft and stretchy cotton jersey, perfect for comfortable everyday wear.
$8 - $18
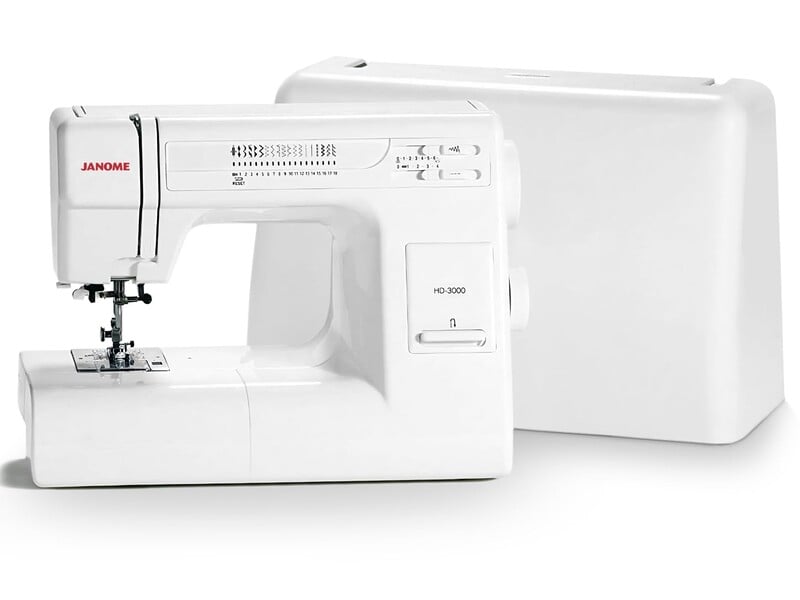
Janome HD3000
Professional-grade heavy-duty machine with aluminum body.
$380 - $450
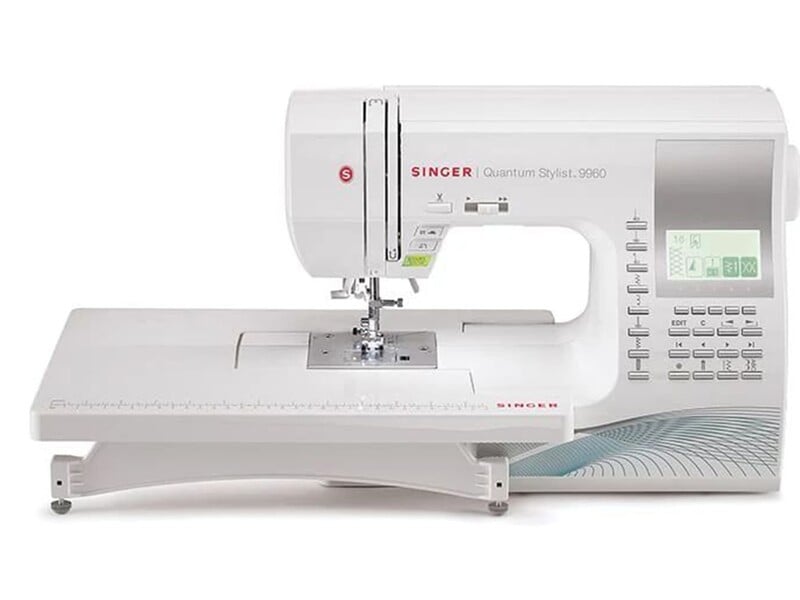
Singer Quantum Stylist 9960
Feature-packed computerized machine with 600 built-in stitches.
$350 - $450
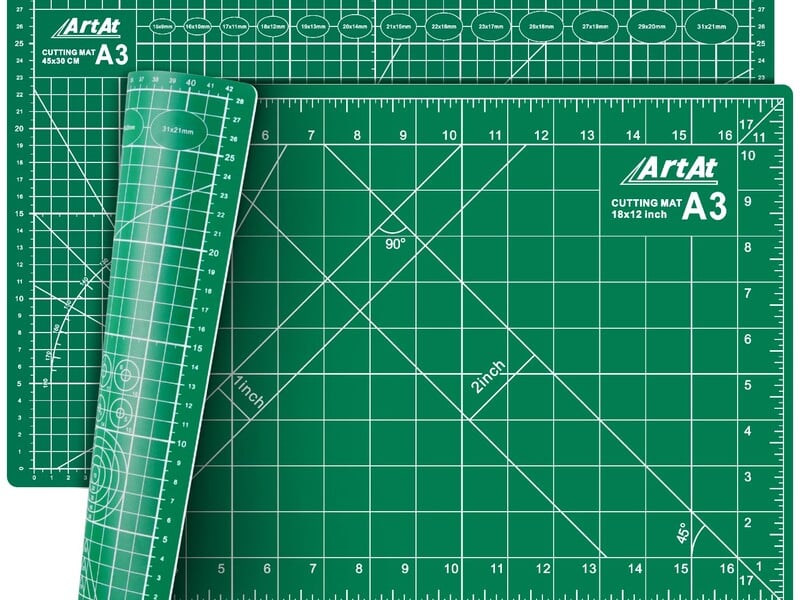
Self-Healing Cutting Mat
Essential cutting surface for rotary cutting.
$15 - $45
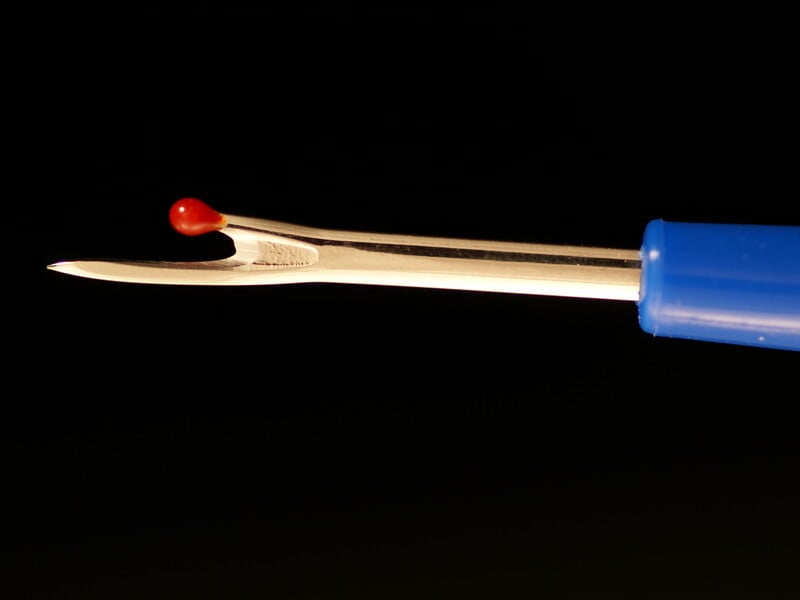
Seam Ripper
Essential tool for removing stitches and opening seams.
$3 - $10
Cotton Quilting Fabric
Premium 100% cotton fabric perfect for quilting, crafts, and general sewing projects.
$8 - $15
Want deeper dives?
Check out our expert-written guides for comprehensive fabric and sewing knowledge.
Found this helpful? Share it with your sewing community!