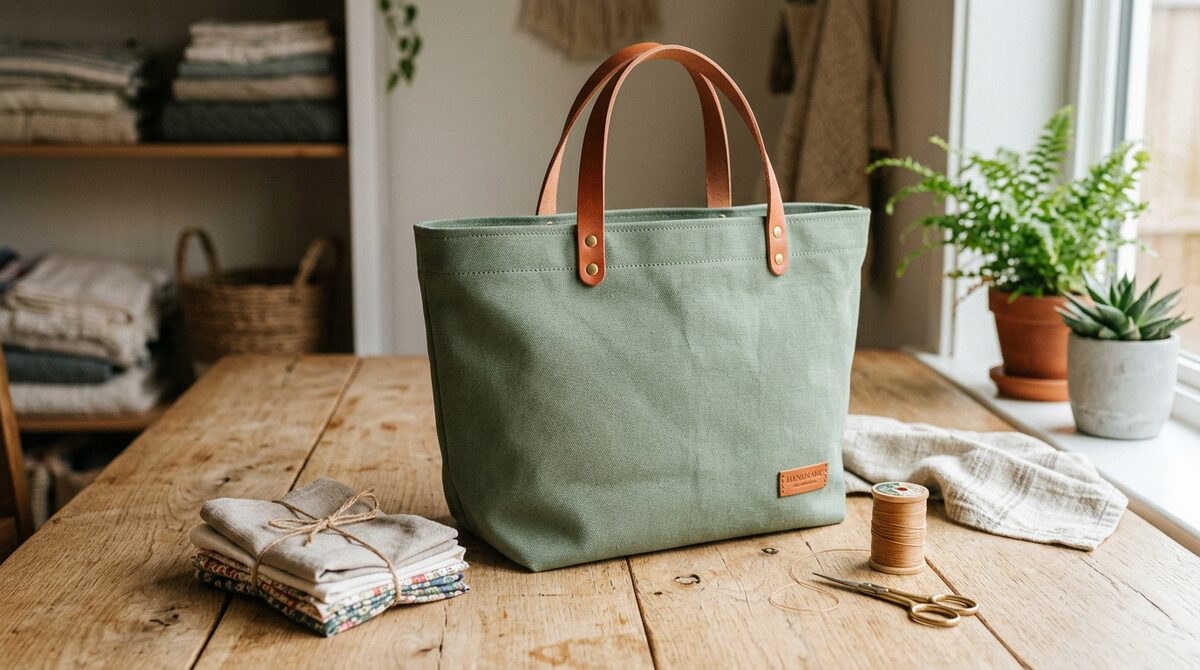
Sew a Sturdy Canvas Tote Bag with Wool Flannel Lining
Learn to sew a durable canvas tote bag with a cozy wool flannel lining — a beginner-friendly project that makes a perfect everyday carry.
Sew a Sturdy Canvas Tote Bag with Wool Flannel Lining
A well-made tote bag is one of those sewing projects that rewards you every single day. Sturdy enough to carry groceries, stylish enough for the farmers market, and warm to the touch thanks to a cozy wool flannel lining — this project checks every box. Best of all, it's beginner-friendly and can be completed in an afternoon.
In this tutorial, we'll walk through every step: choosing your materials, cutting, sewing the outer shell, attaching the lining, and finishing the handles. Let's get started.
---
What You'll Need
Fabrics:
Notions & Tools:
**Machine tip:** A mid-range machine like the **Pfaff Passport 3.0** ($800–$950) handles canvas and wool flannel with ease, thanks to its IDT™ System that feeds both layers evenly. If you're using a basic machine, reduce your speed and use a walking foot attachment for the canvas sections.
---
Cutting Your Fabric
Cut the following pieces:
| Piece | Fabric | Size |
|---|---|---|
| Outer front & back (×2) | Canvas | 15" × 16" |
| Lining front & back (×2) | Wool Flannel | 15" × 16" |
| Handles (×2) | Canvas | 4" × 22" |
Press all pieces with a hot iron before sewing. Canvas benefits from a firm press; use a damp cloth when pressing wool flannel to avoid scorching.
---
Step 1: Sew the Handles
1. Fold each handle strip in half lengthwise (right sides together) and press.
2. Stitch along the long edge with a ½" seam allowance.
3. Turn right side out using a loop turner or safety pin, then press flat.
4. Topstitch both long edges ⅛" from the edge for durability.
**Needle swap:** Use your **Schmetz Denim/Jeans Needle** here. Four layers of canvas is tough work — the reinforced blade glides through without deflecting.
---
Step 2: Assemble the Outer Shell
1. Place the two canvas panels right sides together.
2. Pin along the sides and bottom using your Dritz Tomato Pincushion to keep pins handy.
3. Stitch the sides and bottom with a ½" seam allowance. Backstitch at the start and end.
4. Box the corners: Pinch each bottom corner so the side seam aligns with the bottom seam, forming a triangle. Stitch across 2" from the point. Trim the excess. This gives the bag a flat, structured base.
5. Press seams open and turn right side out.
---
Step 3: Attach the Handles
1. On the outer bag (right side facing up), position each handle 4" from the side seams.
2. Baste the raw ends of the handles to the top edge of the bag, aligning raw edges.
3. Stitch across each handle end twice for extra strength.
---
Step 4: Sew the Wool Flannel Lining
1. Switch back to your Schmetz Universal Needle (size 90/14) for the softer flannel.
2. Sew the lining panels right sides together along the sides and bottom, leaving a 5" gap in the bottom seam for turning.
3. Box the lining corners the same way as the outer shell.
4. Do not turn the lining right side out yet.
---
Step 5: Join Outer Bag and Lining
1. Slip the outer bag (right side out) inside the lining (wrong side out) so right sides face each other.
2. Align the top raw edges and side seams. Pin carefully all the way around.
3. Stitch around the entire top opening with a ½" seam allowance.
4. Pull the outer bag through the gap in the lining. The bag will now be right side out.
5. Press the top seam flat, rolling the lining slightly to the inside so it doesn't show.
6. Slip-stitch or machine-stitch the gap in the lining closed.
---
Step 6: Topstitch the Top Edge
Topstitch around the entire top opening ¼" from the edge. This secures the lining in place and gives the bag a polished, professional finish. Switch back to the denim needle for this step — you'll be sewing through canvas, flannel, and seam allowances.
---
Finishing Tips
---
Final Thoughts
This canvas tote with wool flannel lining is a project that punches above its difficulty level. The result looks and feels expensive, but the materials cost well under $30 for a single bag. The key is choosing quality fabrics — duck cloth canvas and Pendleton-grade wool flannel — and using the right needle for each layer. Happy sewing!
Products Mentioned in This Post
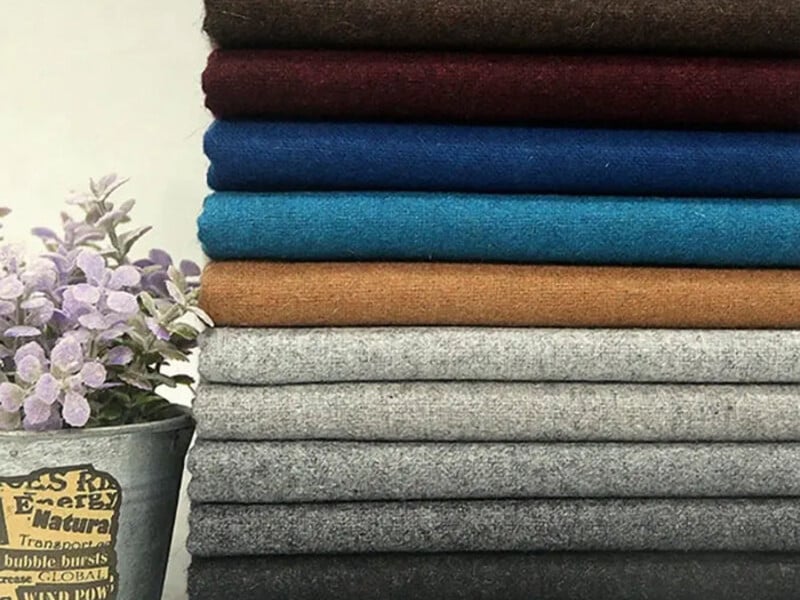
Wool Flannel
Soft wool flannel fabric with brushed finish, perfect for winter garments.
$30 - $60
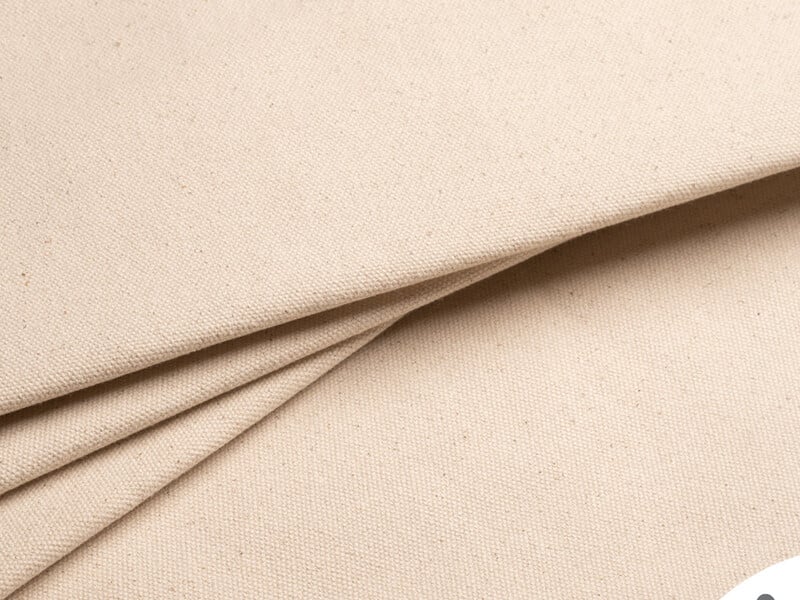
Canvas Fabric
Heavy-duty cotton canvas for bags, upholstery, and outdoor projects.
$10 - $20
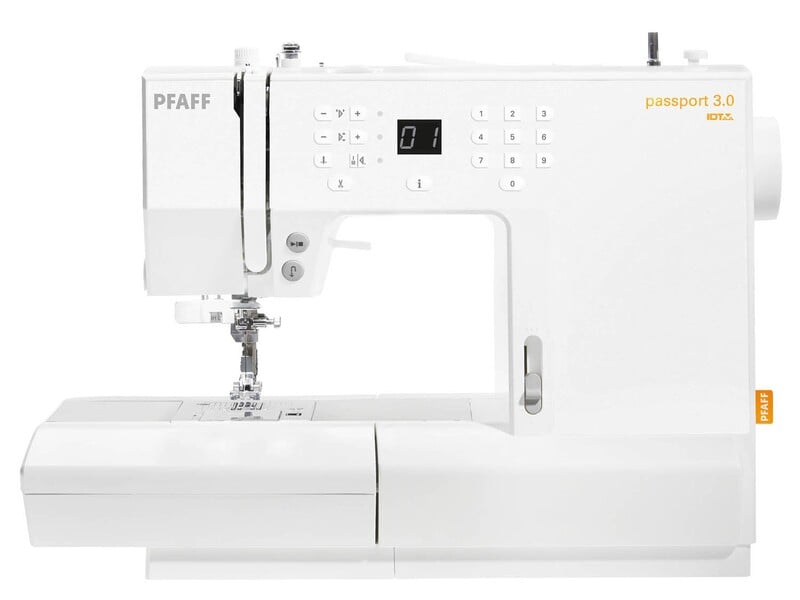
Pfaff Passport 3.0
Compact and portable computerized machine with IDT system.
$800 - $950
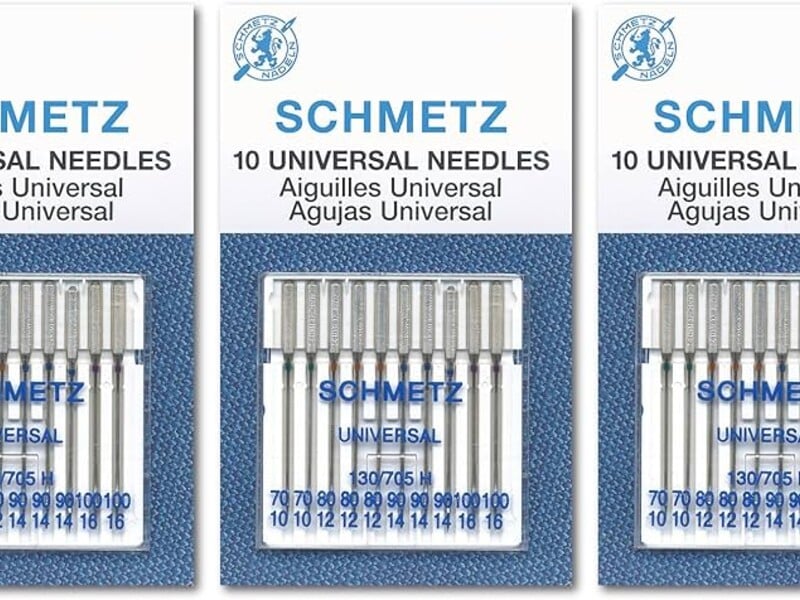
Universal Sewing Needles
Versatile needles suitable for most woven and knit fabrics.
$4 - $8
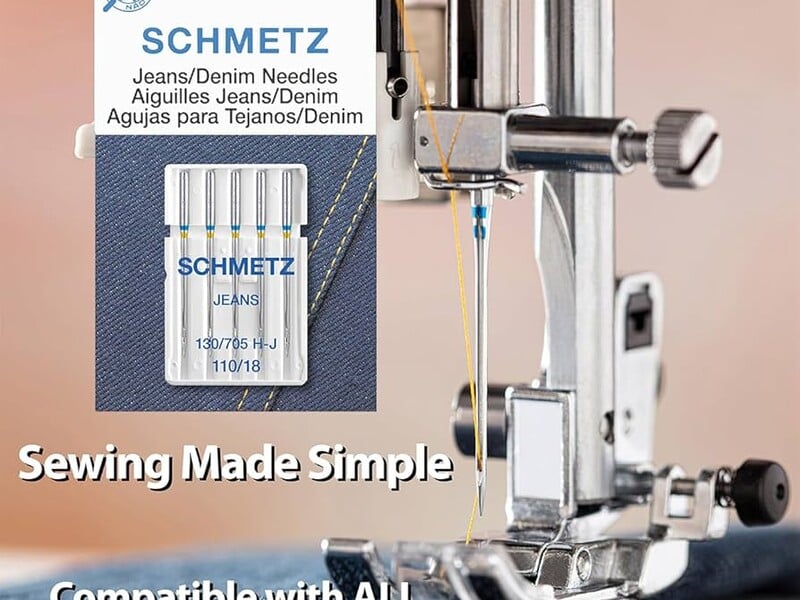
Denim/Jeans Needles
Heavy-duty needles with reinforced blade for thick fabrics.
$5 - $10
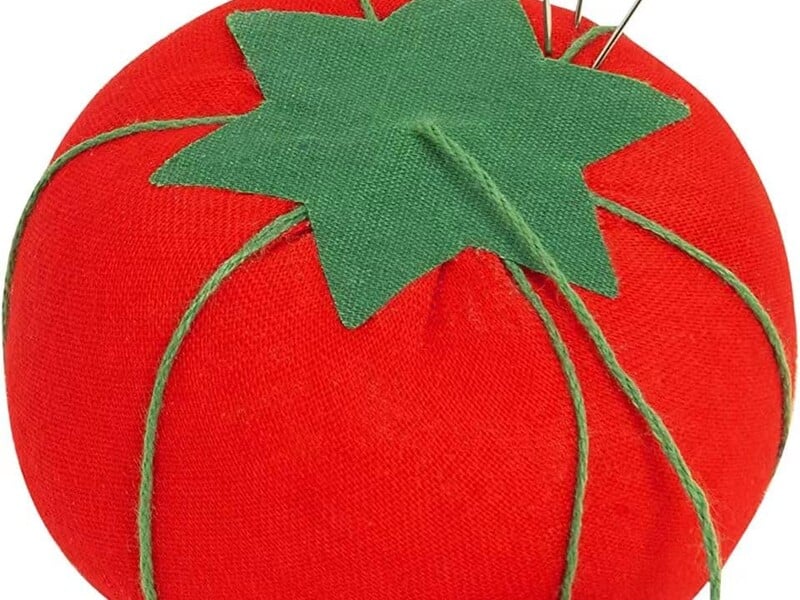
Tomato Pincushion
Classic tomato pincushion with attached strawberry emery.
$3 - $8
Want deeper dives?
Check out our expert-written guides for comprehensive fabric and sewing knowledge.
Found this helpful? Share it with your sewing community!