Sew a Velvet & Satin Evening Bag: Step-by-Step Project
Create a stunning velvet and satin evening bag with this beginner-friendly sewing project tutorial, complete with tool and fabric recommendations.
Sew a Velvet & Satin Evening Bag: Step-by-Step Project
There's something undeniably luxurious about a handmade evening bag crafted from velvet and satin. Whether you're heading to a wedding, a holiday party, or a night out, this project delivers a polished, boutique-quality accessory — and it's more achievable than you might think. In this tutorial, we'll walk through every step, from choosing your fabrics to finishing the lining, so you can create a bag you'll be proud to carry.
What You'll Need
Before you cut a single piece of fabric, gather your materials:
Choosing Your Fabrics
For the outer shell, Velvet Fabric from Mood Fabrics ($15–$40/yard, quality rating 4.5/5) is an excellent choice. Its rich pile and drape give the bag an upscale look, and Mood's selection includes everything from classic black to jewel tones. Available at [Mood Fabrics](https://www.awin1.com/cread.php?awinmid=53817&awinaffid=2801410&ued=https%3A%2F%2Fwww.moodfabrics.com%2Fsearch%3Fq%3Dvelvet) or [Amazon](https://www.amazon.com/dp/B07D5JN72M?tag=smarterfabric-20).
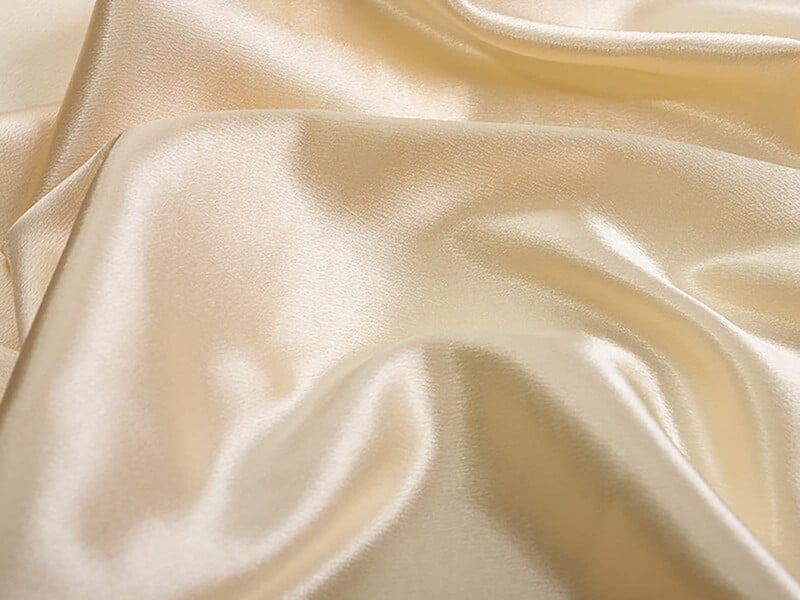
For the lining, Satin Fabric ($10–$30/yard, quality rating 4.4/5) is the perfect complement — smooth, lightweight, and easy to slip items in and out of. Mood Fabrics carries a wide range of satin weights and colors. Available at [Mood Fabrics](https://www.awin1.com/cread.php?awinmid=53817&awinaffid=2801410&ued=https%3A%2F%2Fwww.moodfabrics.com%2Fsearch%3Fq%3Dsatin) or [Amazon](https://www.amazon.com/dp/B0D7RT8N4Z?tag=smarterfabric-20).
**Pro tip:** Choose a satin color that either matches or contrasts beautifully with your velvet. A deep burgundy velvet with champagne satin lining is a classic combination.
Step 1: Cut Your Pieces
Using a sharp Rotary Cutter 45mm by Olfa ($12–$25, quality rating 4.7/5) will make a huge difference when cutting slippery satin and plush velvet. A rotary cutter glides cleanly through both fabrics without distorting the pile or causing fraying. Available on [Amazon](https://www.amazon.com/dp/B000BNLLHW?tag=smarterfabric-20).
Cut the following pieces:
Fuse the interfacing to the wrong side of each velvet piece following the manufacturer's instructions.
Step 2: Sew the Outer Shell
Place the two velvet pieces right sides together, aligning all edges. Pin carefully — velvet can shift, so use plenty of pins or wonder clips.
Sew along the sides and bottom with a ½" seam allowance, leaving the top open. Backstitch at the start and end.
To create a flat bottom:
1. Pinch one bottom corner so the side seam aligns with the bottom seam, forming a triangle.
2. Measure 1½" from the point and draw a line perpendicular to the seam.
3. Sew along that line, then trim the excess triangle.
4. Repeat on the other corner.
Step 3: Sew the Lining
Repeat the same process with your satin lining pieces, but leave a 4" gap along the bottom seam — you'll use this opening to turn the bag right-side out later.
Box the corners of the lining the same way as the outer shell.
Step 4: Attach the Zipper or Magnetic Snap
For a zipper: Baste the zipper to the top edge of the outer shell (right sides together), then attach the lining over it. Sew carefully along the zipper tape.
For a magnetic snap: Attach the snap pieces to the lining panels before assembling, following the snap's instructions. This is the easier option for beginners.
Step 5: Join Outer Shell and Lining
1. Turn the outer shell right-side out.
2. Keep the lining wrong-side out.
3. Slip the outer shell inside the lining so right sides are facing each other.
4. Align the top edges and pin all around.
5. Sew around the entire top opening with a ½" seam allowance.
Step 6: Turn and Finish
Pull the bag through the gap in the lining bottom. The bag will now be right-side out with the lining inside.
Choosing the Right Sewing Machine
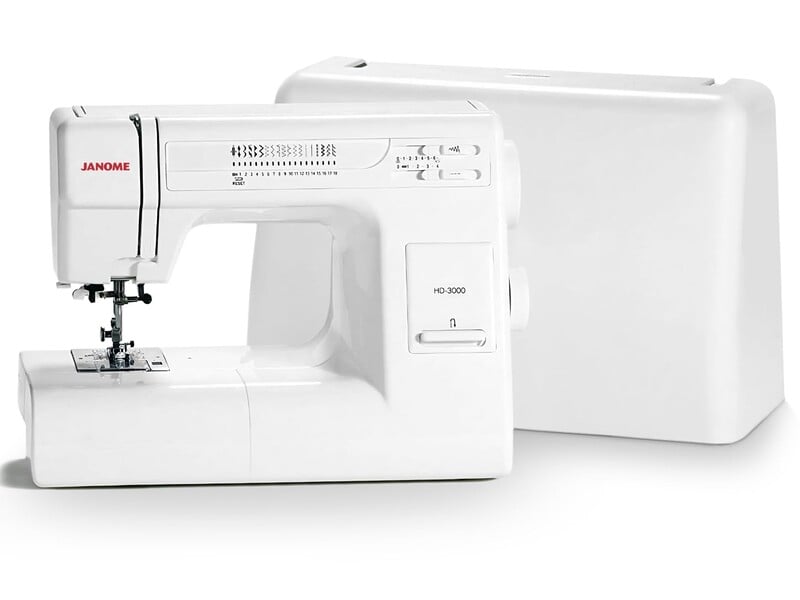
Velvet and satin both benefit from a machine with consistent tension and a smooth feed. The Janome HD3000 ($380–$450, quality rating 4.8/5) is a workhorse that handles medium-weight fabrics beautifully, with 18 built-in stitches and a heavy-duty aluminum frame. Available on [Amazon](https://www.amazon.com/dp/B00916Y4YM?tag=smarterfabric-20).
If you're looking for a more budget-friendly option, the Husqvarna Viking Emerald 116 ($250–$350, quality rating 4.4/5) is a reliable beginner machine with 16 stitches and an easy-to-use interface. Available on [Amazon](https://www.amazon.com/dp/B0053G3KM6?tag=smarterfabric-20).
**Velvet tip:** Use a walking foot or a Teflon foot when sewing velvet to prevent the pile from being crushed or shifted by the presser foot.
Finishing Touches
Once your bag is assembled, consider adding:
Final Thoughts
This velvet and satin evening bag is a rewarding project that looks far more complex than it actually is. With quality fabrics, a sharp rotary cutter, and a reliable sewing machine, you can complete it in an afternoon. The result is a one-of-a-kind accessory that makes a wonderful gift — or a treat for yourself.
Happy sewing!
Products Mentioned in This Post

Velvet Fabric
Luxurious crushed velvet with rich color depth and soft hand feel.
$15 - $40
Satin Fabric
Glossy satin fabric with smooth finish for formal and bridal wear.
$10 - $30
Janome HD3000
Professional-grade heavy-duty machine with aluminum body.
$380 - $450
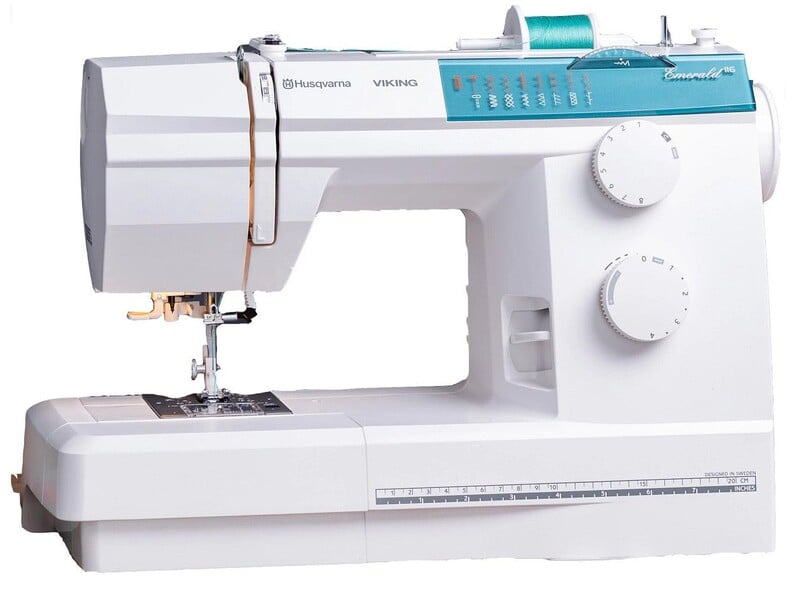
Husqvarna Viking Emerald 116
Reliable mechanical machine with Scandinavian design.
$250 - $350
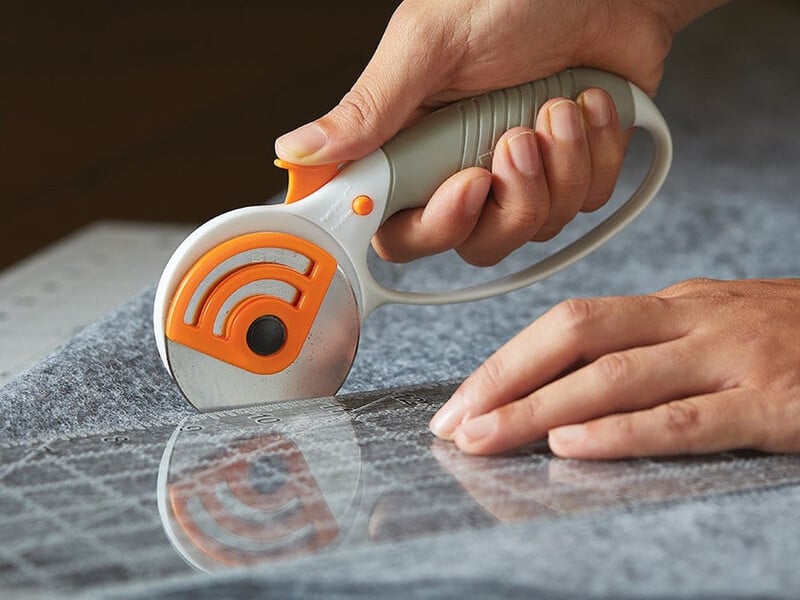
Rotary Cutter 45mm
Essential rotary cutter for precise fabric cutting.
$12 - $25
Want deeper dives?
Check out our expert-written guides for comprehensive fabric and sewing knowledge.
Found this helpful? Share it with your sewing community!