Sew a Velvet Throw Pillow: Step-by-Step Project Guide
Transform luxurious velvet fabric into a stunning throw pillow with this beginner-friendly tutorial covering fabric prep, cutting, and finishing.
Sew a Velvet Throw Pillow: Step-by-Step Project Guide
There is something undeniably luxurious about a velvet throw pillow. The way it catches the light, the soft crush underhand, the instant upgrade it gives any sofa or bed — velvet is one of those fabrics that transforms a room without a renovation budget. The good news? Sewing your own velvet pillow is far more approachable than it looks, and this step-by-step guide will walk you through every stage from fabric selection to the final fluffed result.
What You Will Need
Before you cut a single thread, gather your supplies:
Choosing the Right Velvet
Not all velvet is created equal. For a home décor project like a throw pillow, you want a fabric with good body and a tight pile that will hold its shape over time.
Mood Fabrics Velvet (rated 4.5/5 for quality) is an excellent starting point. Priced between $15–$40 per yard, it comes in a wide range of colors and weights. Available at [Mood Fabrics](https://www.awin1.com/cread.php?awinmid=53817&awinaffid=2801410&ued=https%3A%2F%2Fwww.moodfabrics.com%2Fsearch%3Fq%3Dvelvet) or [Amazon](https://www.amazon.com/dp/B07D5JN72M?tag=smarterfabric-20), it suits beginner through advanced sewists.
**Pro tip:** Always buy a little extra velvet — at least 10% more than your calculated yardage. Velvet has a nap (a directional pile), and you need all pieces cut in the same direction or your pillow will look two different colors in different lighting.
For a budget-friendly alternative, a Polyester Blend fabric (rated 3.8/5, priced $5–$12/yard from Joann) can mimic the look of velvet at a fraction of the cost — a great option if this is your first time working with pile fabrics.
Step 1: Prepare Your Fabric
Velvet requires a little extra care before you start cutting.
1. Do not pre-wash velvet — most velvet is dry-clean only. Check the care label.
2. Identify the nap direction by running your hand along the fabric. One direction will feel smooth; the other will feel rough. Mark the smooth direction with a small piece of tape on the wrong side.
3. Lay the fabric wrong-side up on a flat surface. Use a large cutting mat if you have one.
Step 2: Cut Your Pieces
For an 18×18-inch finished pillow with a ½-inch seam allowance, cut:
If you are making an envelope-back closure (no zipper needed — great for beginners):
Use sharp scissors or a rotary cutter. Velvet shifts easily, so pin or clip the fabric to your cutting mat before cutting.
Step 3: Thread Up and Test
Thread choice matters more than most sewists realize. Coats & Clark Dual Duty thread (rated 4.3/5, priced $2–$5 per spool) is a reliable all-purpose choice that works beautifully with velvet's weight. Available at [Amazon](https://www.amazon.com/dp/B01LA1P41W?tag=smarterfabric-20) or [JOANN](https://www.joann.com/search?q=sewing+thread).
Before sewing your actual pieces:
Keep your Dritz Tomato Pincushion ($3–$8) close at hand — it is the classic sewist's companion for keeping pins and hand-sewing needles organized during a project like this. Available at [Amazon](https://www.amazon.com/dp/B000GJFP14?tag=smarterfabric-20).
Step 4: Sew the Pillow
For a simple envelope back (recommended for beginners):
1. Hem one long edge of each back rectangle: fold ½ inch to the wrong side, press with a pressing cloth (never iron velvet directly), and stitch.
2. Lay the front panel right-side up.
3. Place one back panel on top, right-side down, aligning the raw edges on three sides. The hemmed edge will be toward the center.
4. Place the second back panel on top, overlapping the first in the center.
5. Pin or clip all the way around the perimeter.
6. Sew around all four sides with a ½-inch seam allowance.
7. Clip the corners diagonally to reduce bulk.
8. Turn right-side out through the envelope opening.
For a zipper closure:
Insert a 16-inch invisible zipper along one edge of the back panel before assembling. This gives a cleaner finish but adds a step.
Step 5: Press and Finish
Velvet should never be pressed directly with a hot iron — the heat crushes the pile permanently.
Once pressed, insert your pillow form through the envelope opening and fluff the corners into shape.
Finishing Touches and Variations
Once you have mastered the basic velvet pillow, there are endless ways to customize:
Final Thoughts
A velvet throw pillow is one of those projects that looks far more impressive than the effort it requires. With the right fabric, quality thread, and a little patience with the nap, you will have a finished piece that looks like it came from a boutique home store — at a fraction of the price.
The key takeaways: always cut with the nap, use a longer stitch length, never iron velvet directly, and test your settings on a scrap before committing to your good fabric. Follow those four rules and your pillow will come out beautifully every time.
Happy sewing!
Products Mentioned in This Post
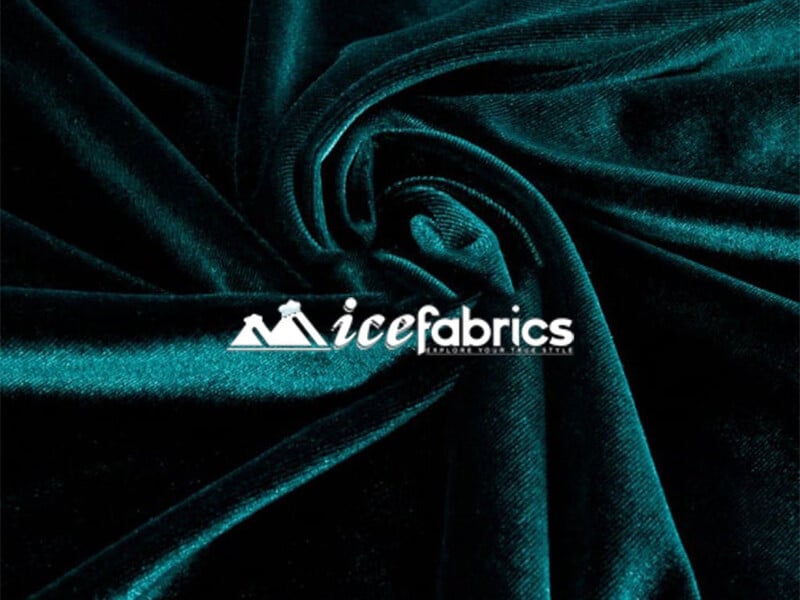
Velvet Fabric
Luxurious crushed velvet with rich color depth and soft hand feel.
$15 - $40
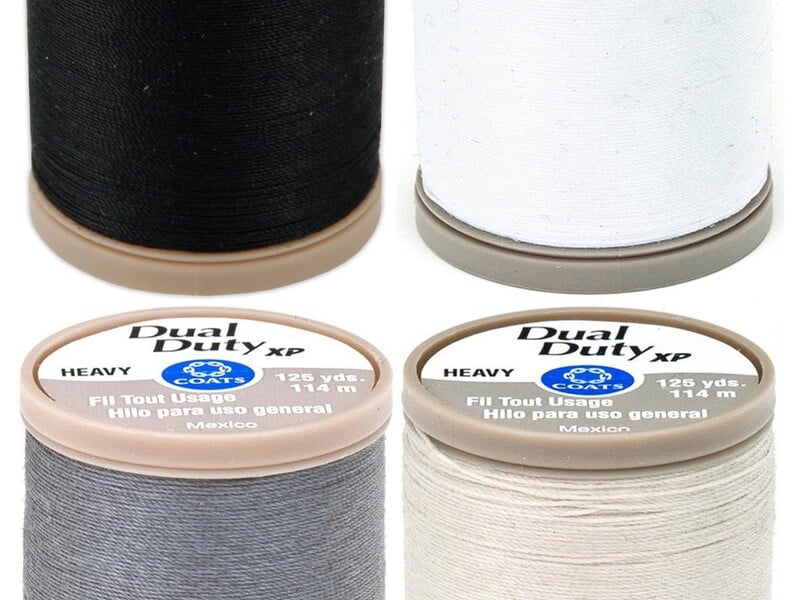
Coats & Clark Dual Duty
Reliable cotton-wrapped polyester thread for everyday sewing.
$2 - $5
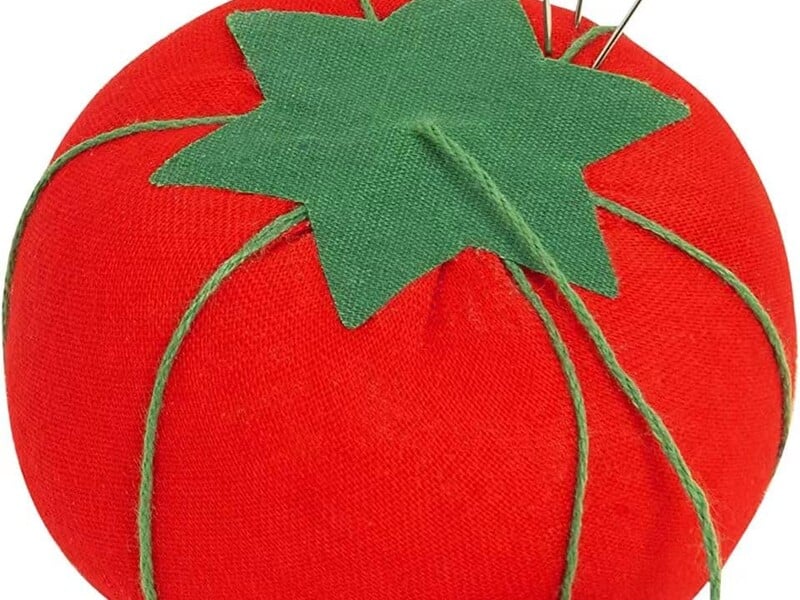
Tomato Pincushion
Classic tomato pincushion with attached strawberry emery.
$3 - $8
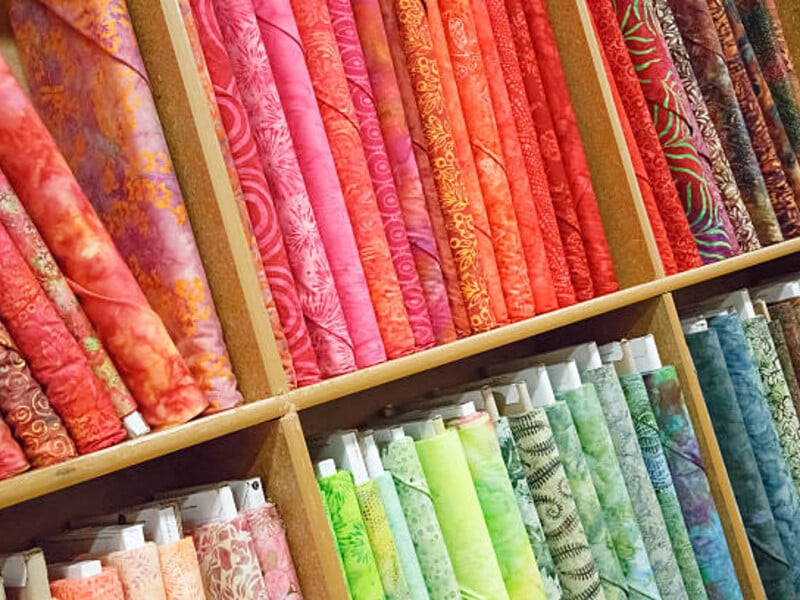
Cotton Quilting Fabric
Premium 100% cotton fabric perfect for quilting, crafts, and general sewing projects.
$8 - $15
Want deeper dives?
Check out our expert-written guides for comprehensive fabric and sewing knowledge.
Found this helpful? Share it with your sewing community!